The Pencil Tool
 F6 or P
The behavior of the Pencil tool depends on the settings in its controls bar. To draw with this tool, press the left mouse button and drag the mouse around the canvas. The Pencil will leave a green trace that follows the location of the mouse cursor. When you let go of the mouse button, the shape you created will get its stroke (and/or its fill, if you have one set).
Two tiny, square handles appear at the start and end of the drawn path. When you start drawing on one of these handles, this will continue the path, instead of creating a new object. And if you stop drawing the same path in one of those squares, it will close the path (meaning there are no openings).
Let’s have a look at the options of the Pencil tool. The Shape dropdown menu offers different brushes that influence the shape of the path:
- Triangle in and out
This makes the path look a little more elegant, thinning or thickening along its length. Switch to the Node tool and drag on the pink diamond-shaped handle to adjust the width interactively.
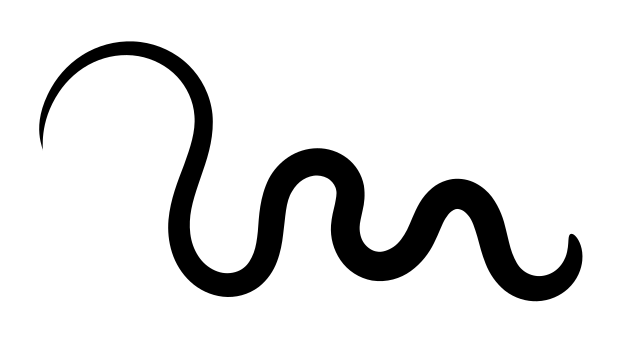
- Ellipse
The beginning and end of the path will be thinner than its middle part. Switch to the Node tool and drag on the round white handle to adjust the width interactively.
- From clipboard
You can make custom brushes by first drawing your brush shape, and then copying it. This will add it to the clipboard automatically and can be used as a brush for the pencil and pen tools.
- Bend from clipboard
First you must copy a curve that already exists. The line that you draw will be deformed like the path that you copied. And it will be adjustable, using the Node tool.
- Last applied
Use the same shape you used last time. Use this if you want to continue using a custom shape, for drawing multiple lines with the same style. This way, you can go back to using the clipboard normally. It does no longer have to hold the shape you want to draw.
- None
The drawn path’s outline will be of the same width along the whole length of the path.
You can set the amount of Smoothing for the path you want to draw. When you use a mouse for drawing, making this value larger will make the line look less scrawly. When you use a graphics tablet with pen, you can use a lower smoothing value, and it will still look nice.
The button  LPE based interactive simplify
allows you to draw a path where you can adjust the smoothing after you have finished drawing the
path. Use the button
LPE based interactive simplify
allows you to draw a path where you can adjust the smoothing after you have finished drawing the
path. Use the button  LPE simplify flatten
to lock the result of the interactive smoothing. After it has been used, the path’s smoothing can
no longer be adjusted.
LPE simplify flatten
to lock the result of the interactive smoothing. After it has been used, the path’s smoothing can
no longer be adjusted.
Hint
‘LPE’ is the acronym for “Live Path Effect”, a set of functionalities specific to Inkscape that can change paths non-destructively, to achieve spectacular results.
To reset your changes to smoothing to the default value, you can use the button where the hover text says reset pencil parameters to default.
The pencil tool has three different modes. The results you get also depend a lot on the level of smoothing:
 Create regular Bézier path
The path that you get as a result is very close to the path that you drag with the mouse cursor on the canvas. Remember to adjust the smoothing, to make your line look more elegant.
 Create Spiro path
Create stylish swirls and curls with only the mouse!
 Create BSpline path
This mode reveals its use when you switch to the Node tool. It makes it really easy to draw evenly smooth curves.
The Pencil tool (as well as the Pen tool) creates dots when you hold down Ctrl while clicking on the canvas. When you hold down both Shift + Ctrl, the dots’ size will be doubled. With Ctrl + Alt, random sized small dots will be created with every click, and with Shift + Ctrl + Alt, each click will generate a random sized big dot.
Hint
Note that the dots are really circles.
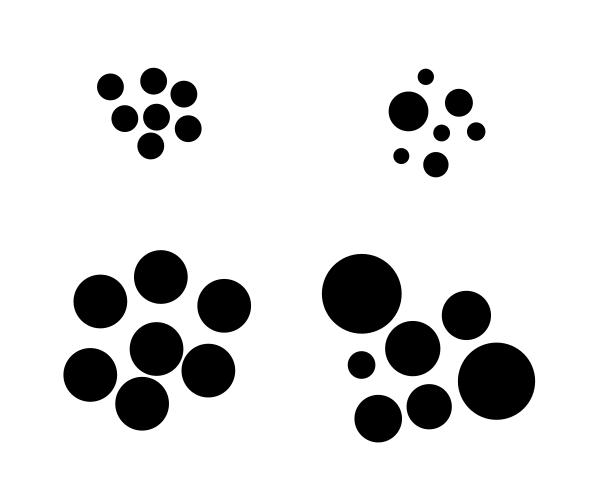
Dots created with the pencil tool. Top left: with Ctrl, top right: with Ctrl + Alt, bottom left: with Ctrl + Shift, bottom right: with Ctrl + Alt + Shift.
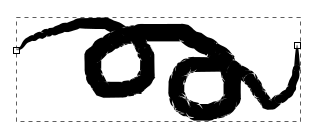
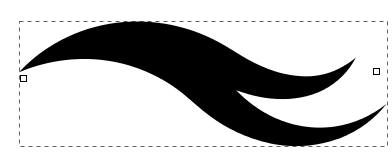
A path drawn with Shape: Ellipse and no smoothing.
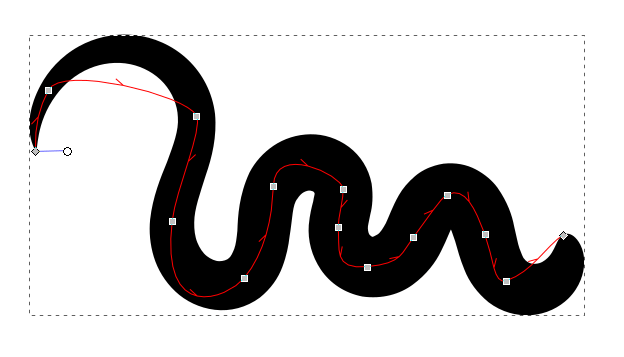
The path has been extended from the square handle at its end.
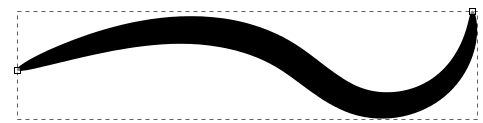
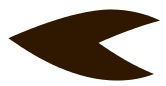
Shape: Ellipse with more smoothing.
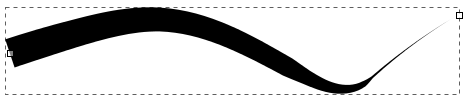
Shape: Triangle out was used here.
This path uses Shape: From Clipboard
The path that was copied to the clipboard for drawing the above path.
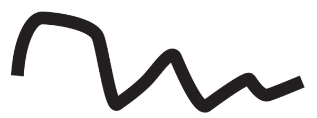
Path drawn with Shape: Triangle In in Bézier mode, with a smoothing of 40
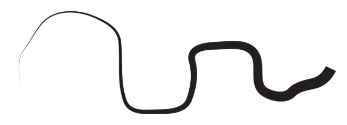
Path drawn in B-Spline mode
Path with Shape: From Clipboard drawn in Spiro mode with a smoothing level of 40
The same path as above, only wider. The width of a path that uses objects on the clipboard (and those that use ‘Shape: Ellipse’, both use the ‘Pattern along Path’ Live Path Effect) can be changed with the Node tool, using the white circular handle at the beginning of the path.
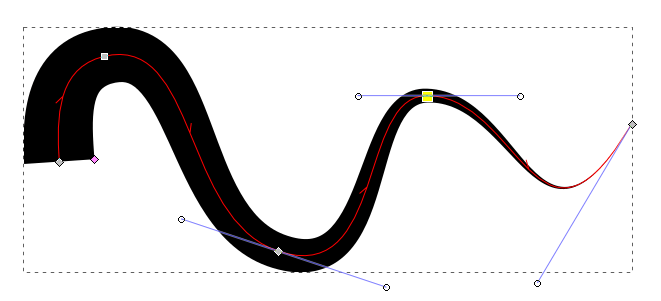
The width of a path with a PowerStroke Live Path Effect (used by ‘Shape: Triangle In / Out’) can be adjusted with the node tool by moving a pink, diamond-shaped node, to achieve a non-constant path width.