Creating a Mesh Gradient

This tool is especially useful for those who want to create photorealistic designs, but it also has its uses for everyone who wants to create complex gradients in a single object.
To apply a mesh gradient to an object, select the object.
Now you have two options:
- Option 1:
Activate the Mesh Gradient tool in the tool bar. Use it to click and drag on the object.
- Option 2:
Open the Fill and Stroke dialog. There, select the Mesh Gradient mode
 .
.
Now, the mesh gradient will be displayed directly on the object. It has some different kinds of nodes:
grey diamond-shaped nodes for assigning colors
white circular (or arrow-shaped) handles for shaping the mesh
Note
You will only be able to see and modify these nodes when you use the Mesh Gradient tool.
In the tool’s tool controls bar, note the fields labelled Rows and Columns. More rows or columns add more nodes that can each have a separate color. This way, an object can be painted in a multitude of colors. New meshes will have the set number of rows or columns.
To add more rows or columns to an existing gradient, double-click on the vertical or horizontal mesh lines.
To apply a color:
select a grey node
select the color of your choice.
Tip
You can use the dropper icon  at the bottom of the Fill and Stroke dialog to more quickly apply colors that you already use in your drawing.
Just like the normal gradients, mesh gradients can be shared between objects, when both objects use a gradient with the same name (e.g. mygradient1234). Select the gradient in the Mesh Fill list in the Fill and Stroke dialog to reuse it on a different object.
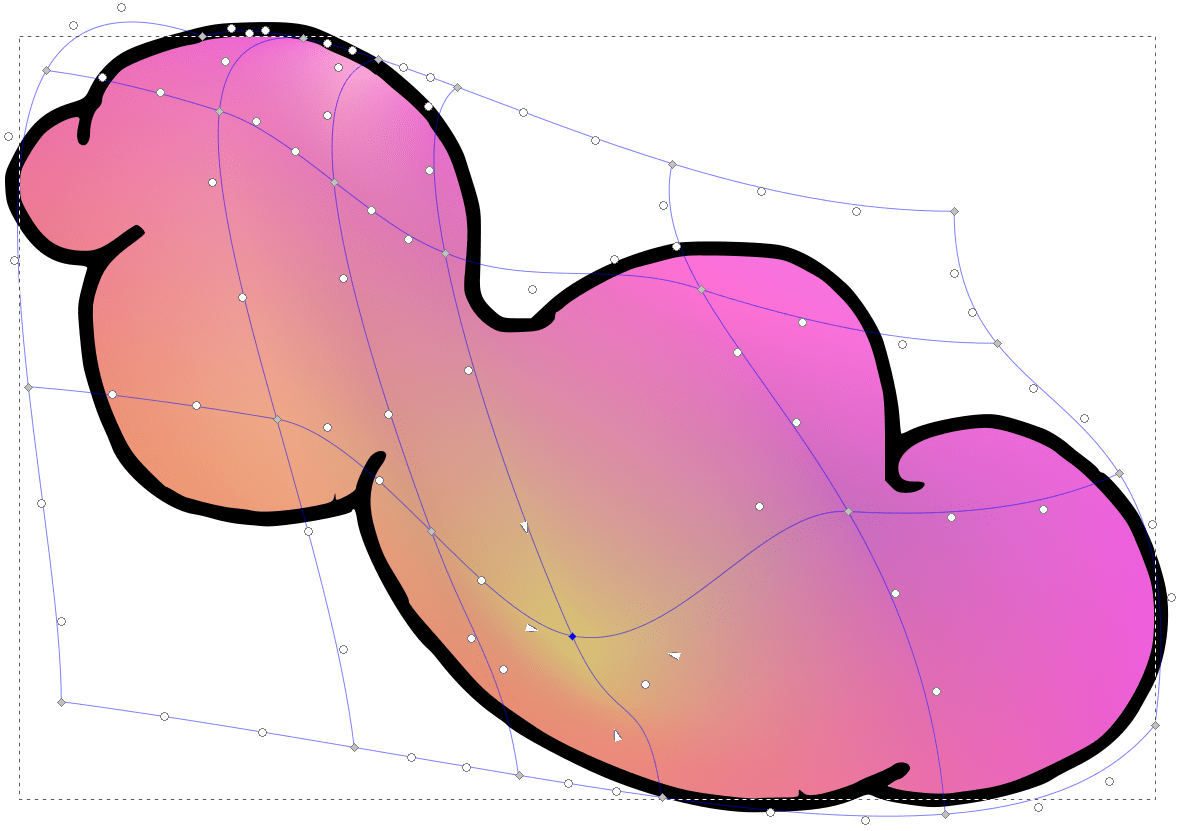
This cloud consists of 10 different colors. Each color has been applied to one of the grey diamond-shaped nodes. The shape of the mesh has been modified to better fit the shape of the cloud.
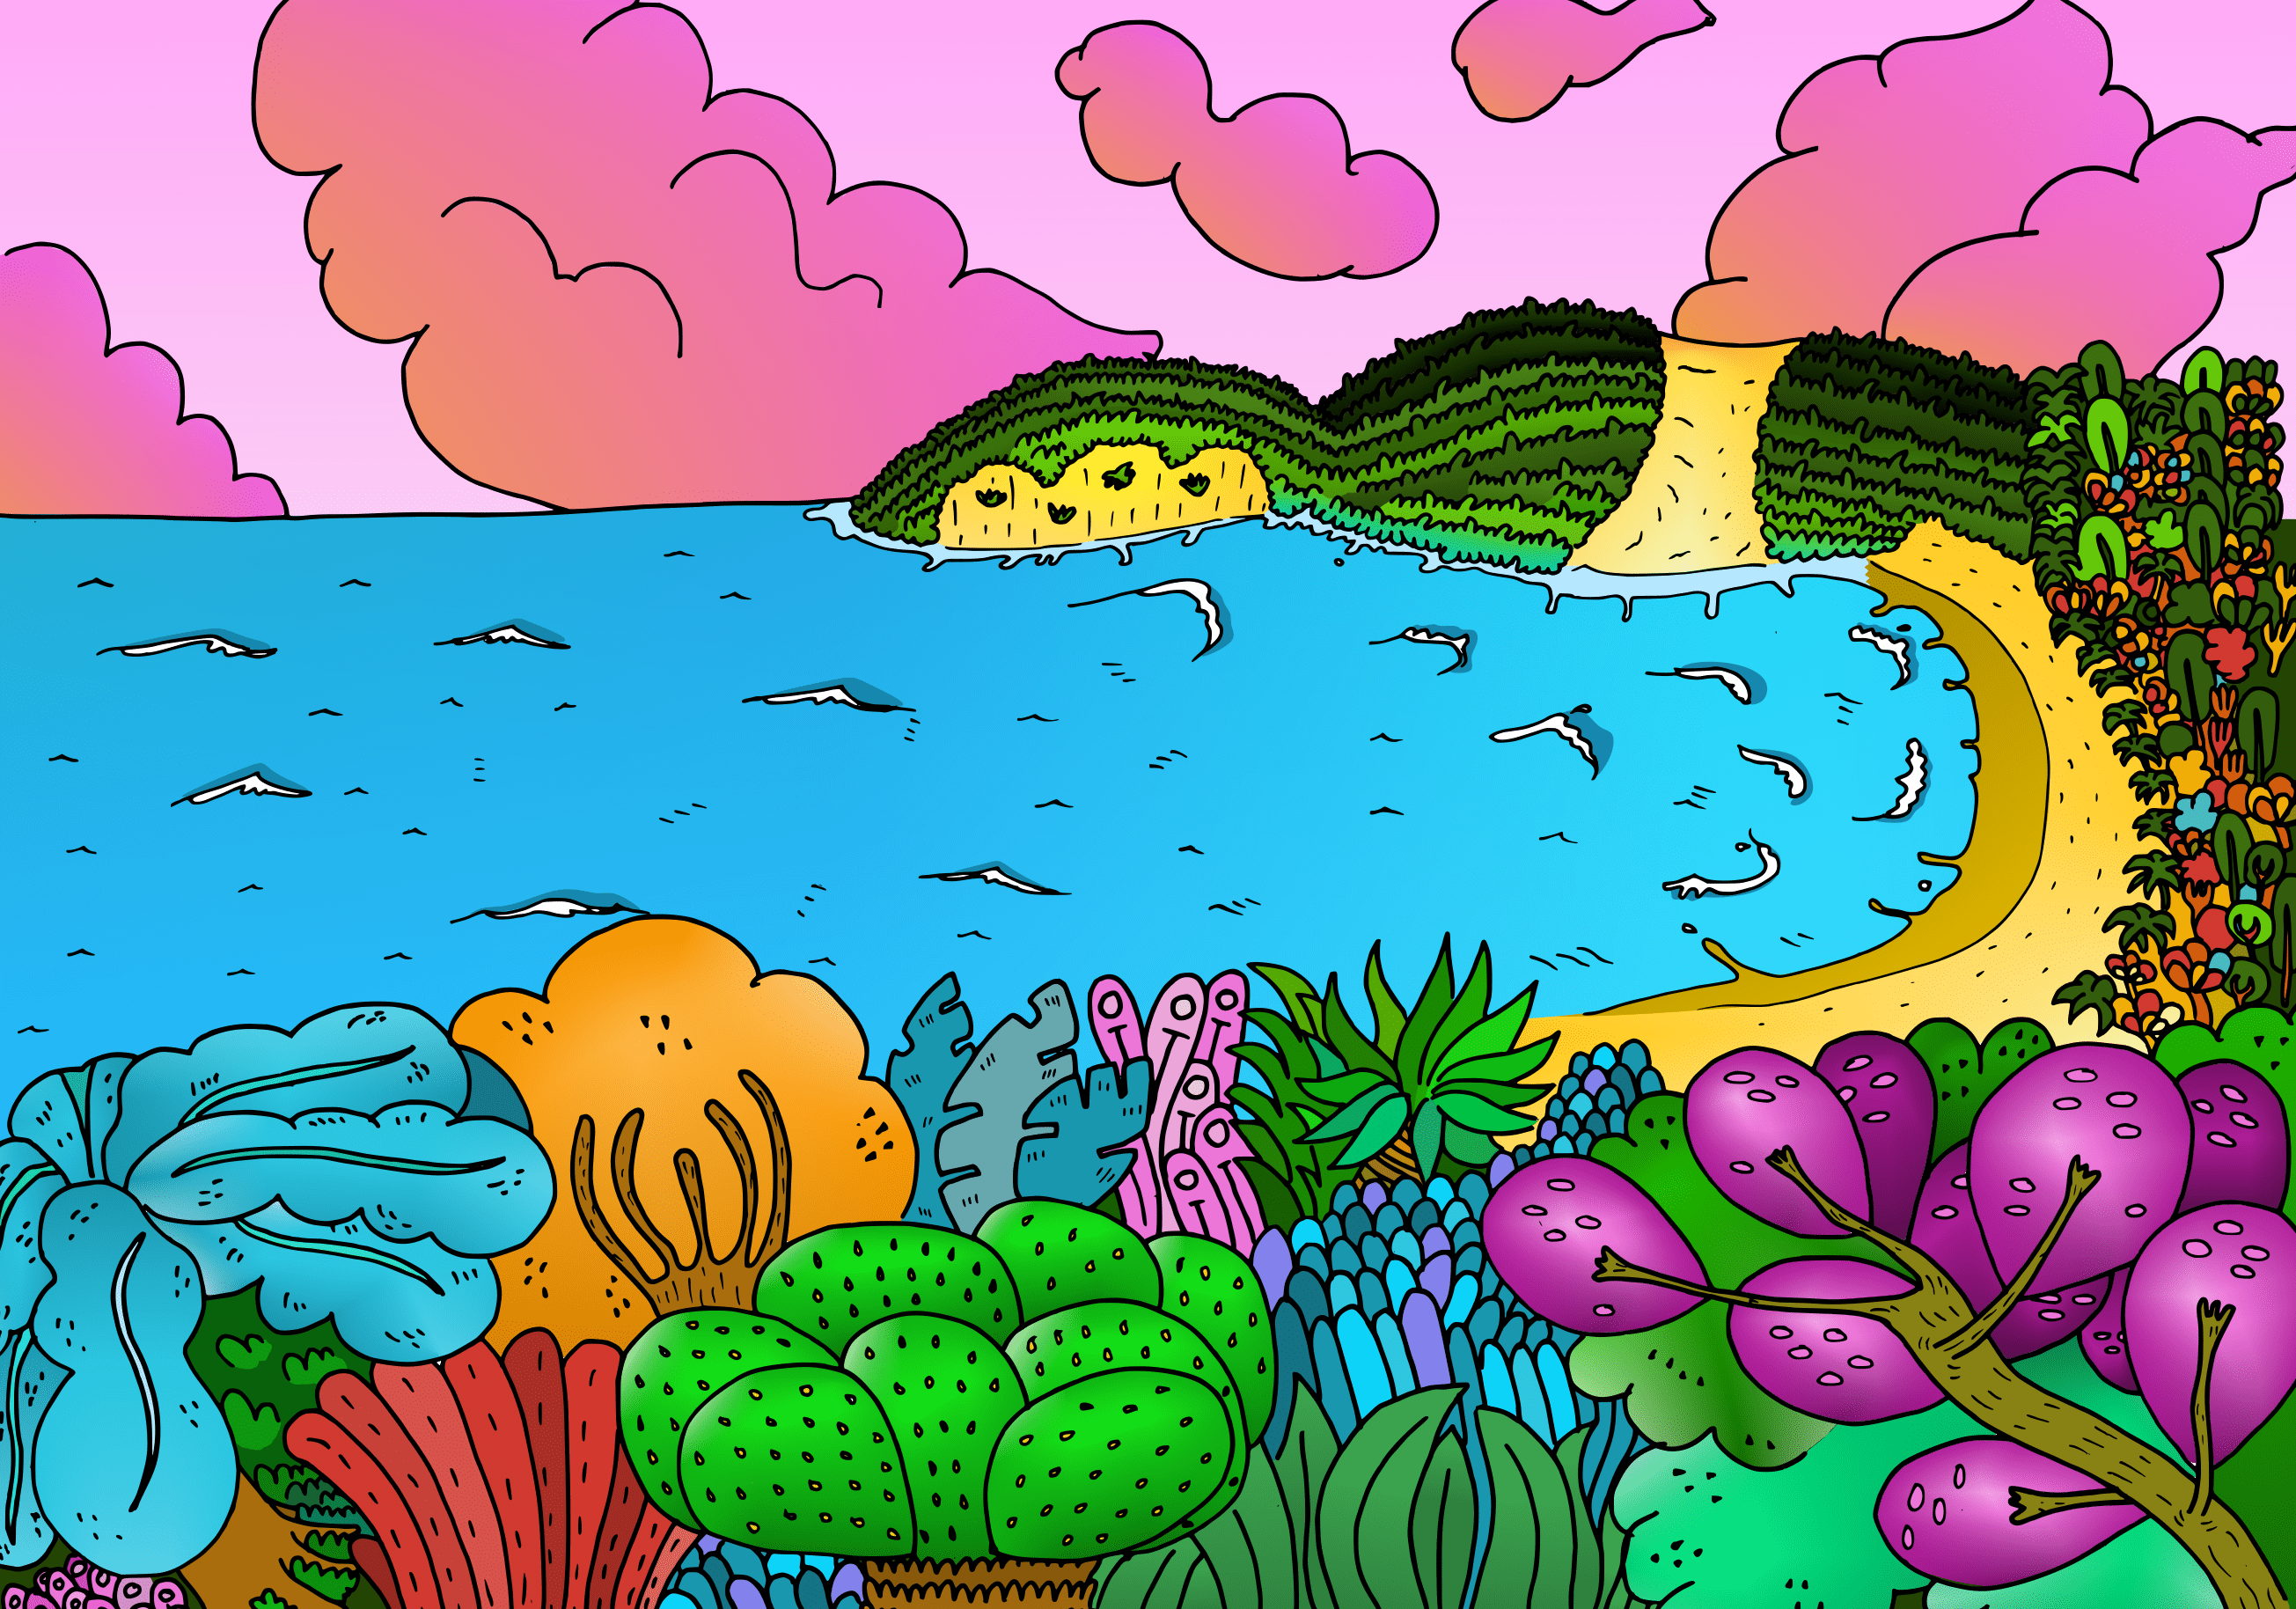
A landscape with mesh gradients
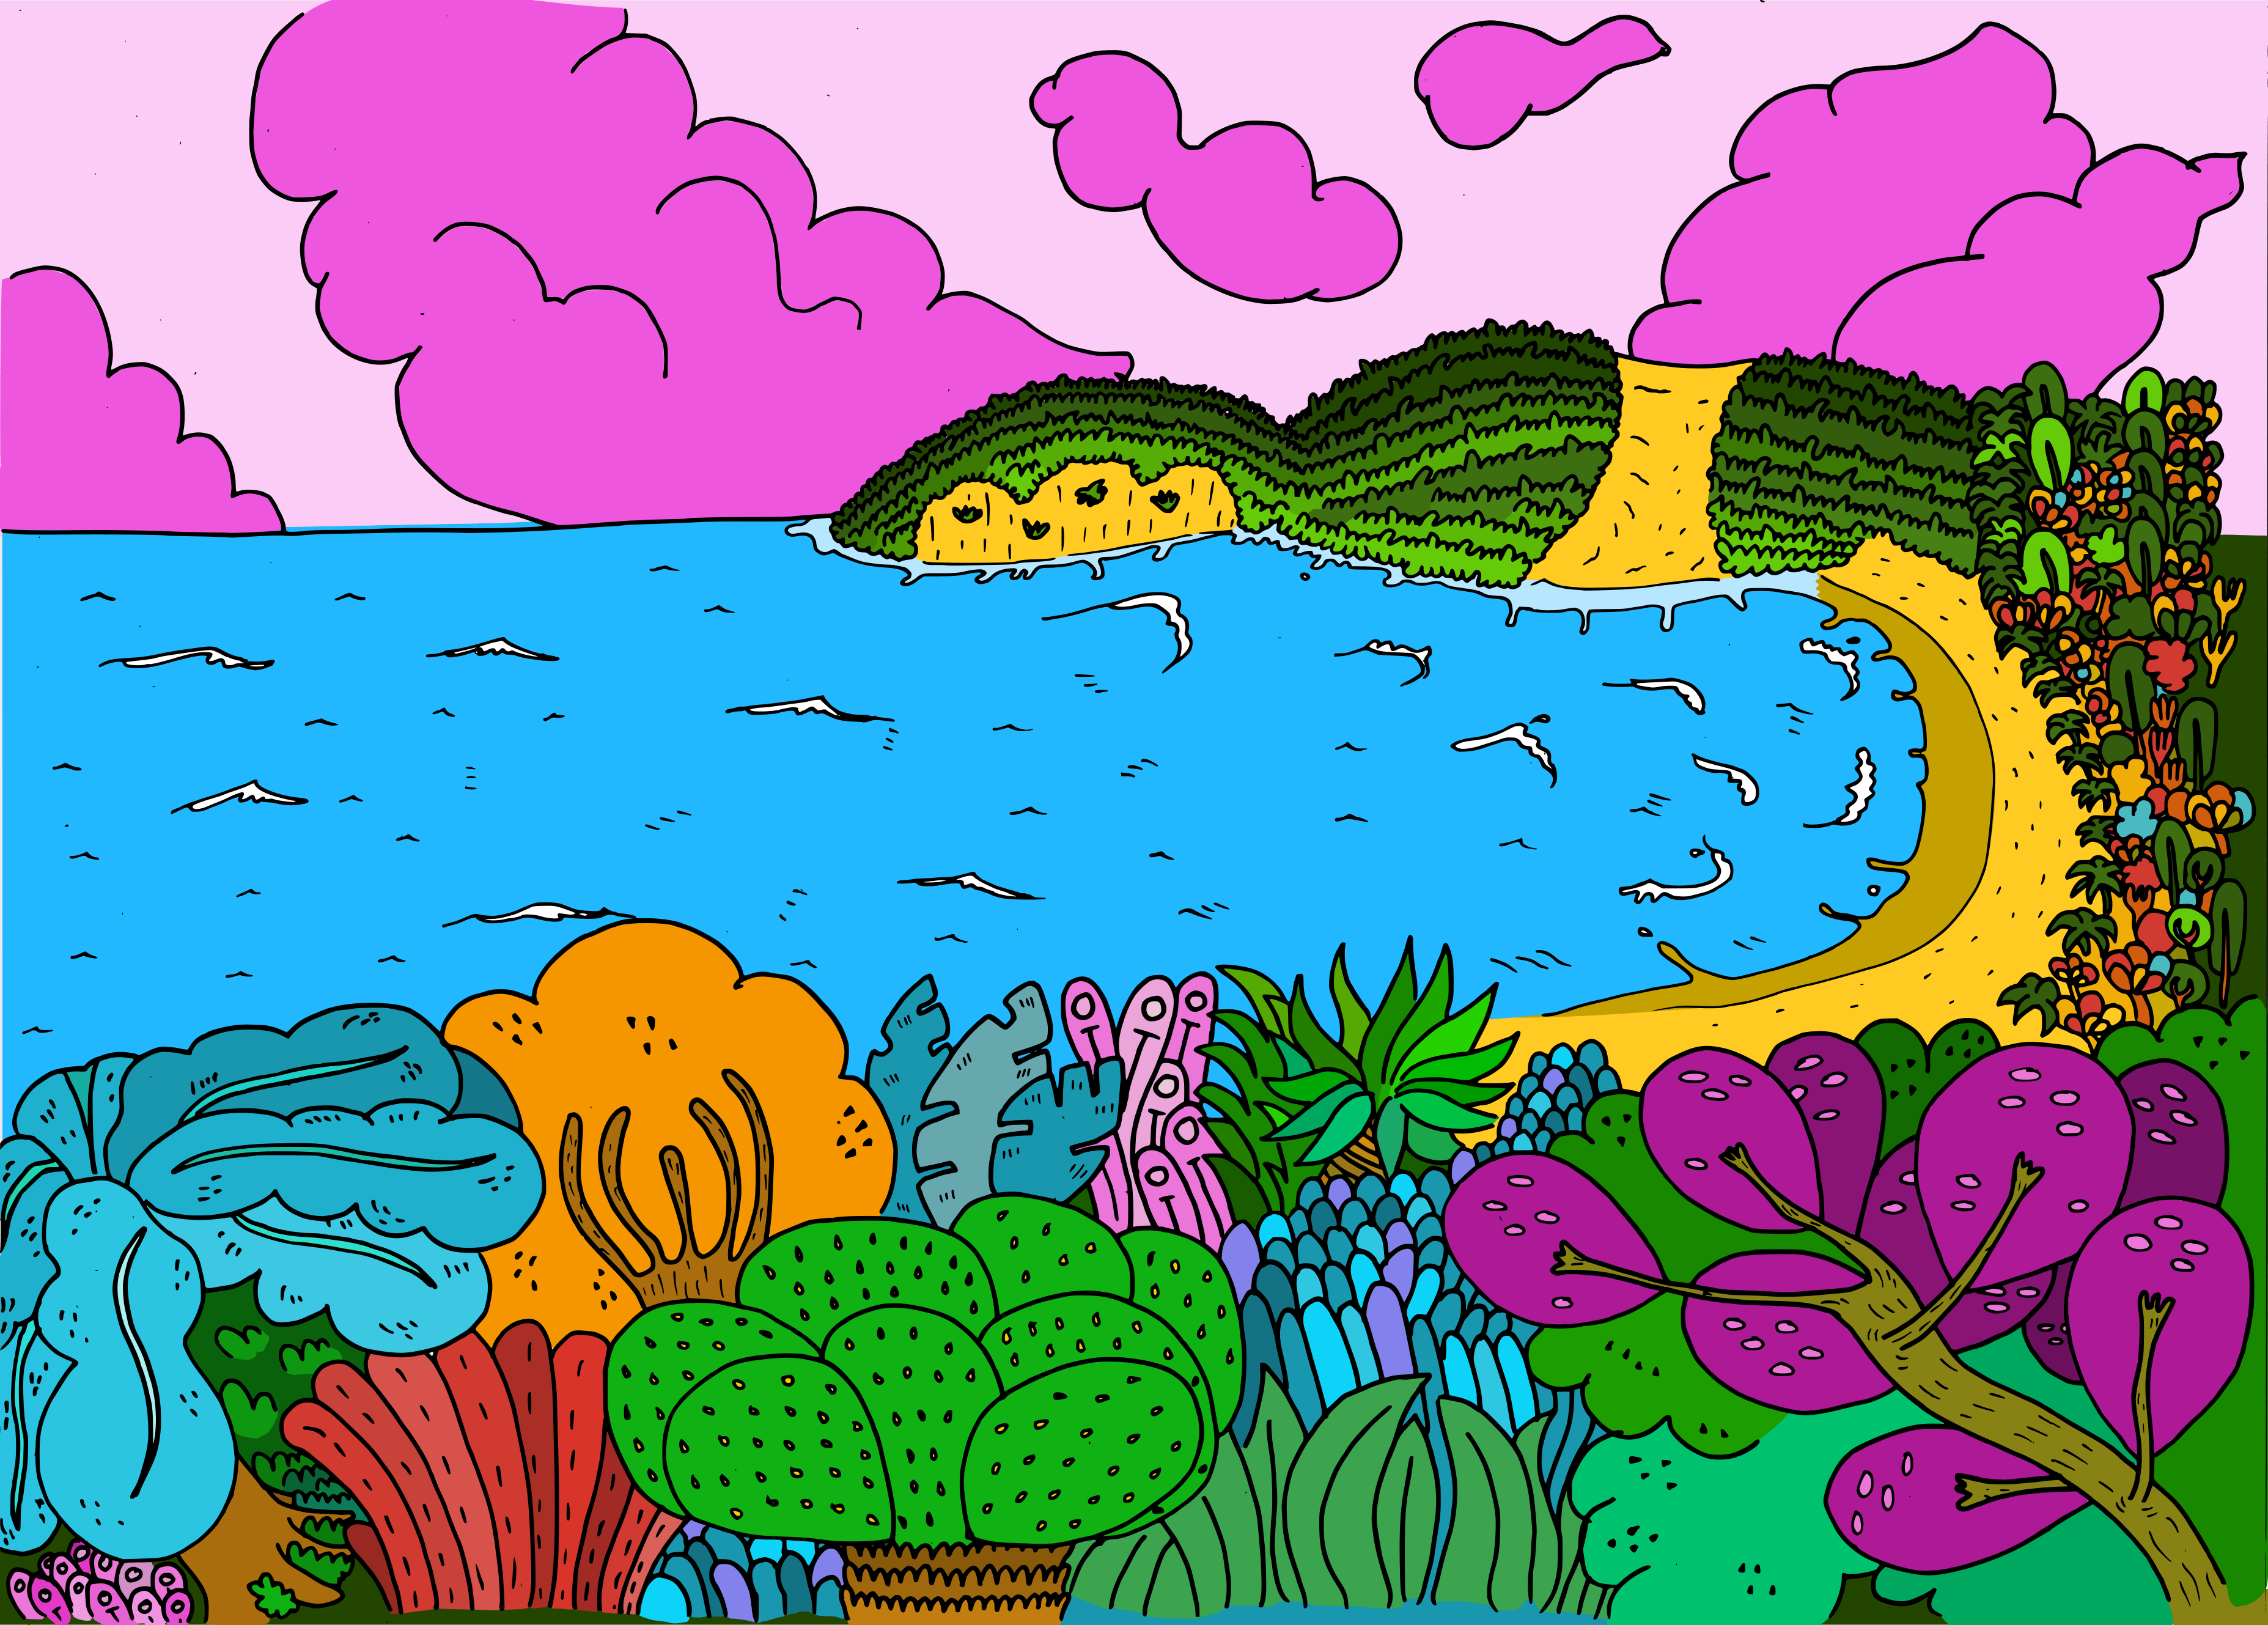
The same landscape without mesh gradients