Installing Inkscape on Windows
Inkscape is available for Microsoft Windows operating systems from XP up to Windows 10. There are two basic methods for installing Inkscape onto computers with a Windows operating system. One method is downloading and installing directly from Inkscape and the other is installing it from the Microsoft App store. A description of both methods is presented here.
Attention
If you had previously installed Inkscape onto your computer, you will need to uninstall that version before installing the new version.
Method 1: Downloading and installing directly from Inkscape
Using a Web browser, go to the Inkscape website’s download page for Windows. The site may redirect you automatically to the best download, as shown in the below graphic. If no appropriate choices are available, click All Platforms in the orange bar for all options for all operating systems. If you are unsure if you need the 32-bit or 64-bit version, read the section about Identifying Your System Architecture first.

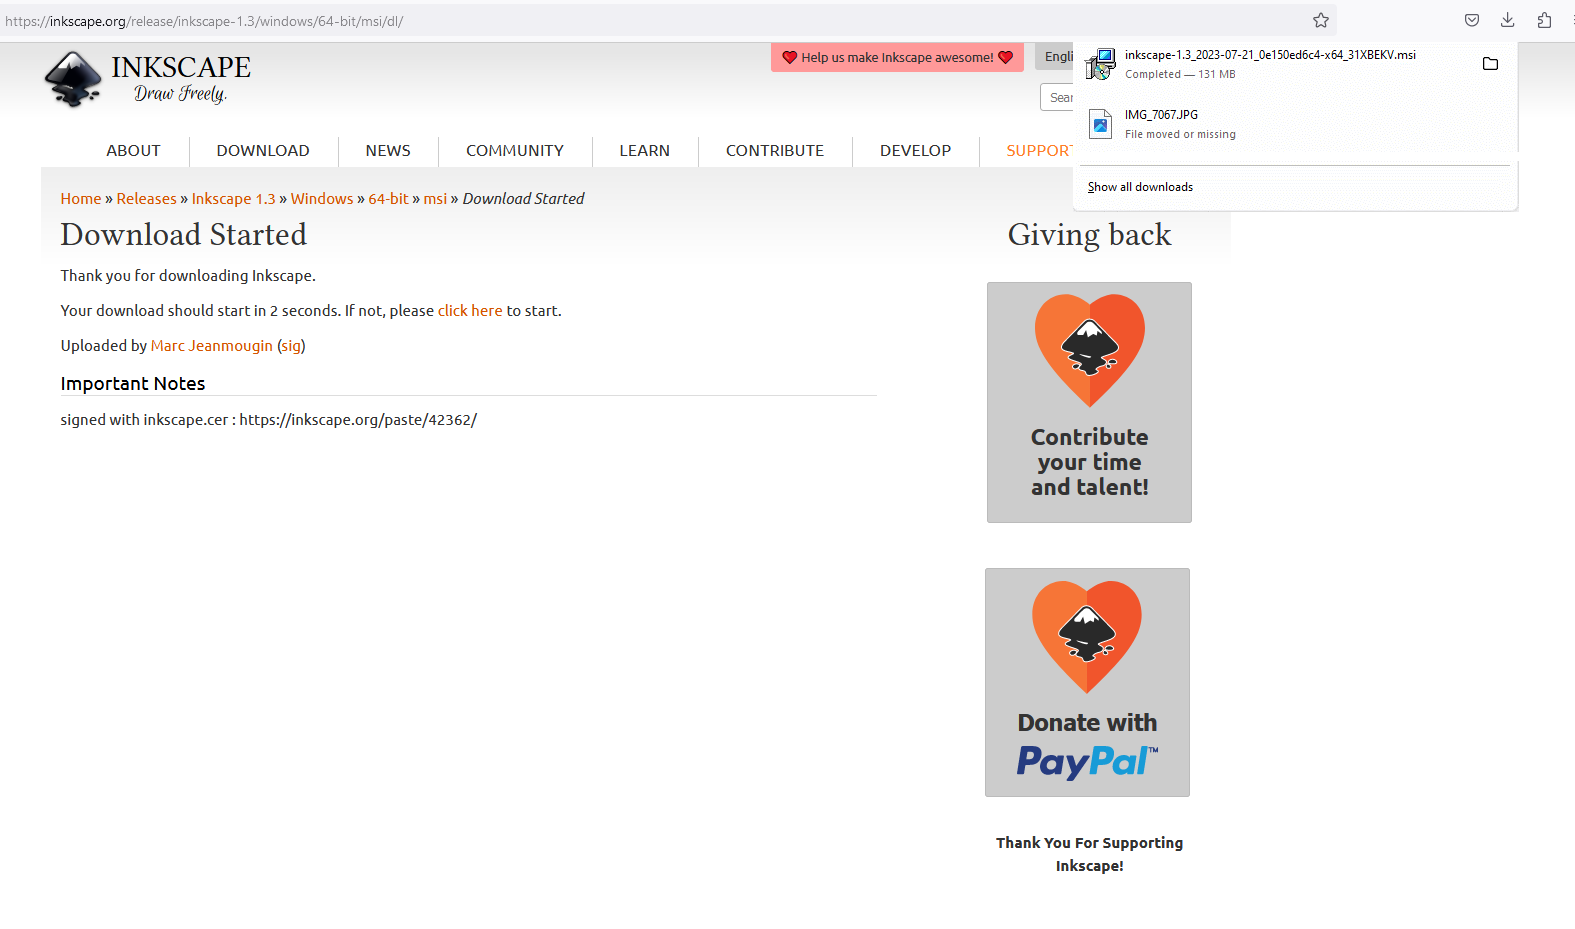
Select an installation method from the available choices (exe, msi, archive) and wait for it to download. You should either see a window giving you the option to save the file, or a pop-up appear in your web browser with the file’s name and a timer stating how long until the download is complete.
Once the download is complete, either click on the file in the lower left corner (Chrome) or the top right corner (Edge and Firefox) of your screen to start the installation process. On Firefox, it’s hidden behind a blue circle. If need be, go to your file explorer, open your downloads folder and select the file from there. It should be the first file at the top of the folder.
OR


If you get a User Account Control pop-up from Windows similar to the following one click “OK” and wait for the Inkscape installation program to start.

The installer will now start up and try to switch to your system language, if it is set to anything other than English. Click Next on the following welcome screen.
On the Custom Setup screen you can select which features you want to install or not install. In most cases the default options should provide all that the user needs, so click Next.
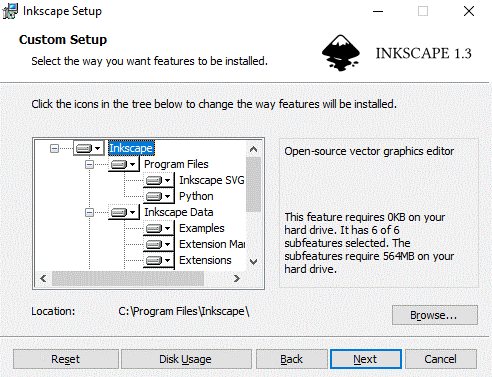
To reset the selections so that all features are selected, click Reset.
To confirm if you have enough disk space to install the selected features, click Disk Usage.
Leave the destination folder as
C:\Program Files\Inkscapeand click Next unless you want Inkscape to be installed in a specific location on your computer.(Optional step)
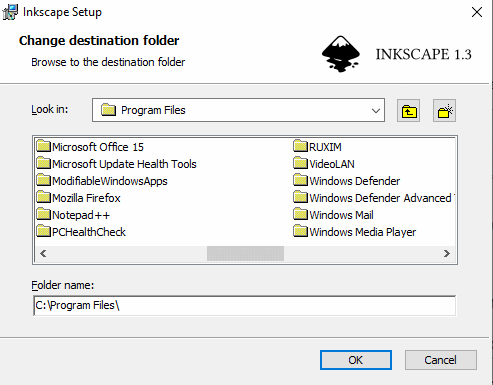
If you do want to install Inkscape in a specific location on your computer, click the Browse button and in the resulting window either make a new folder for Inkscape and select it or select the destination folder you want Inkscape to be installed to.
Once you click Install in the following screen, a progress bar will appear showing the different components being installed.
After the installation is complete, click Finish.
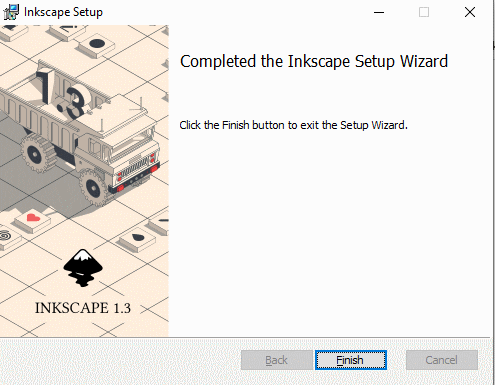
An Inkscape shortcut will appear on your desktop and a new Inkscape folder will appear in your programs list.
Method 2: Installing from the Microsoft App store
You can also install Inkscape onto your Windows computer from the Microsoft App store. If you have the Windows 10 Education version this will be the only way you can install Inkscape.
Note
You will need a Microsoft account to install apps from the Microsoft store. If you already have an account, skip the following steps on how to make one.
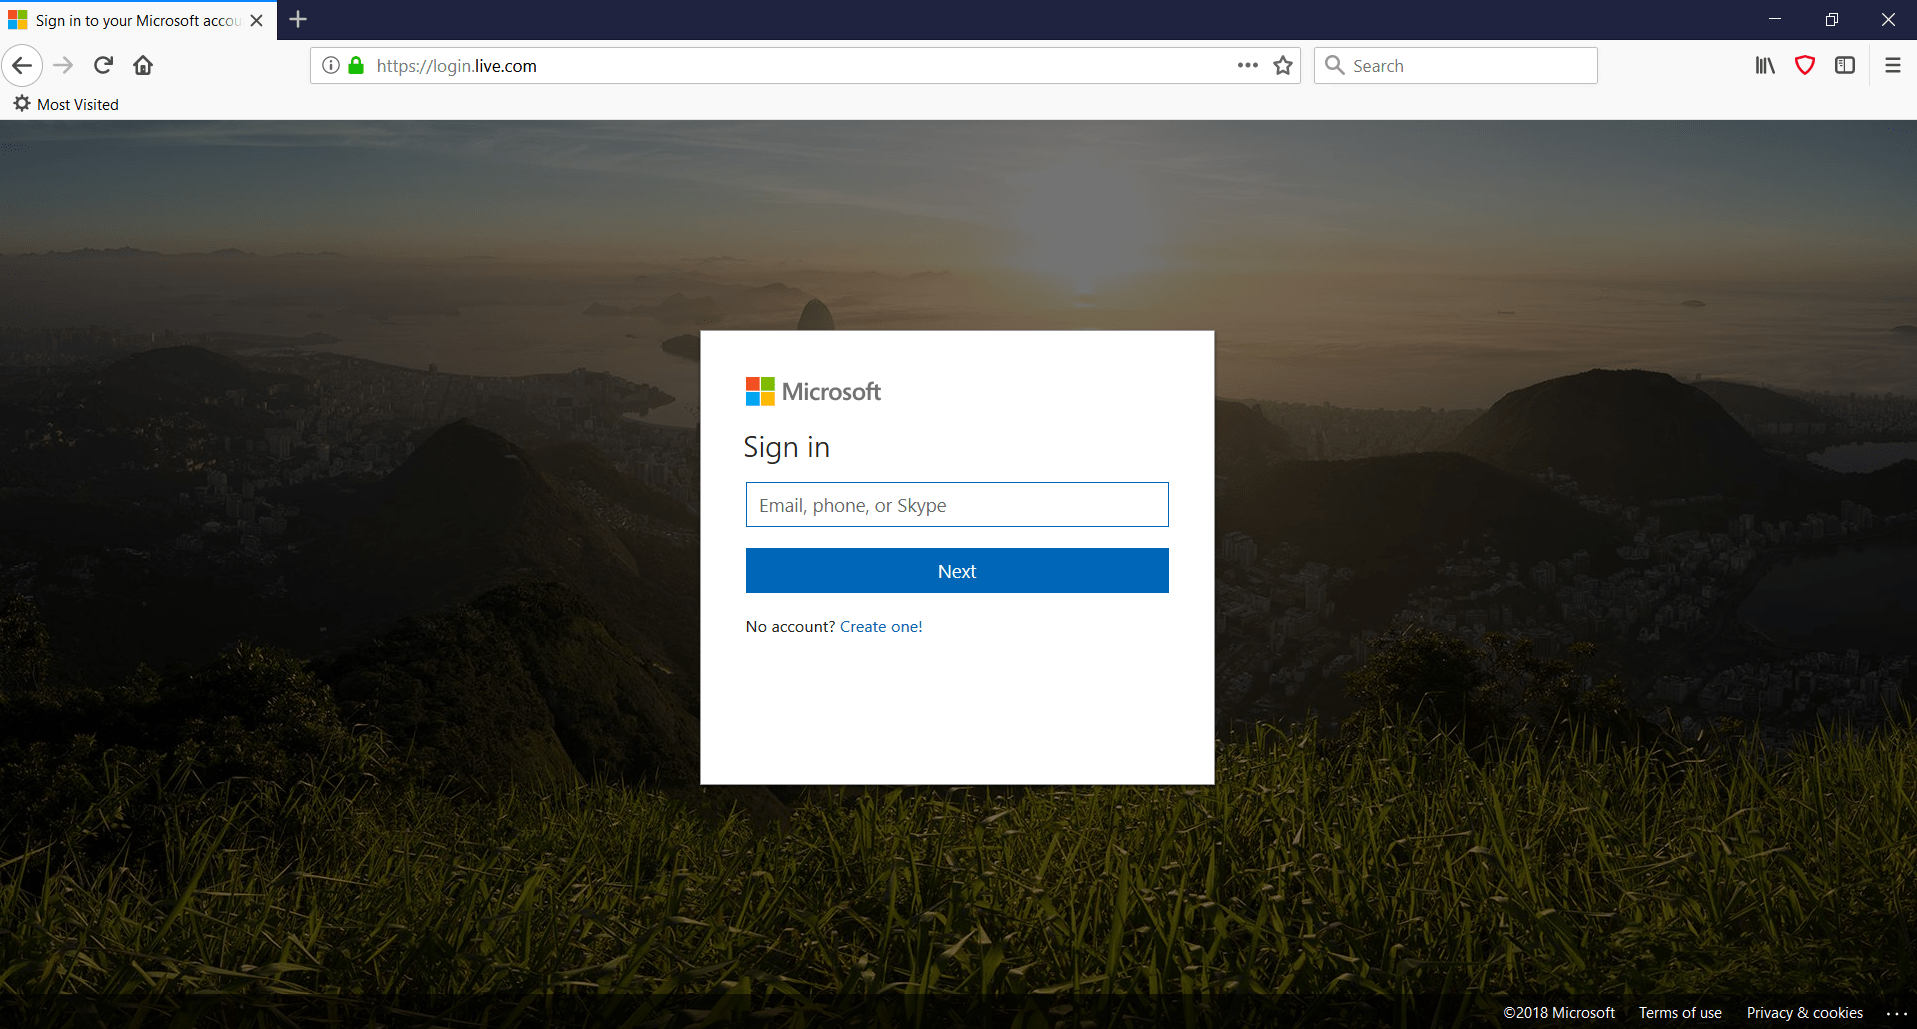
To create a Microsoft account using a Web browser go to https://login.live.com/ and select Create one!.
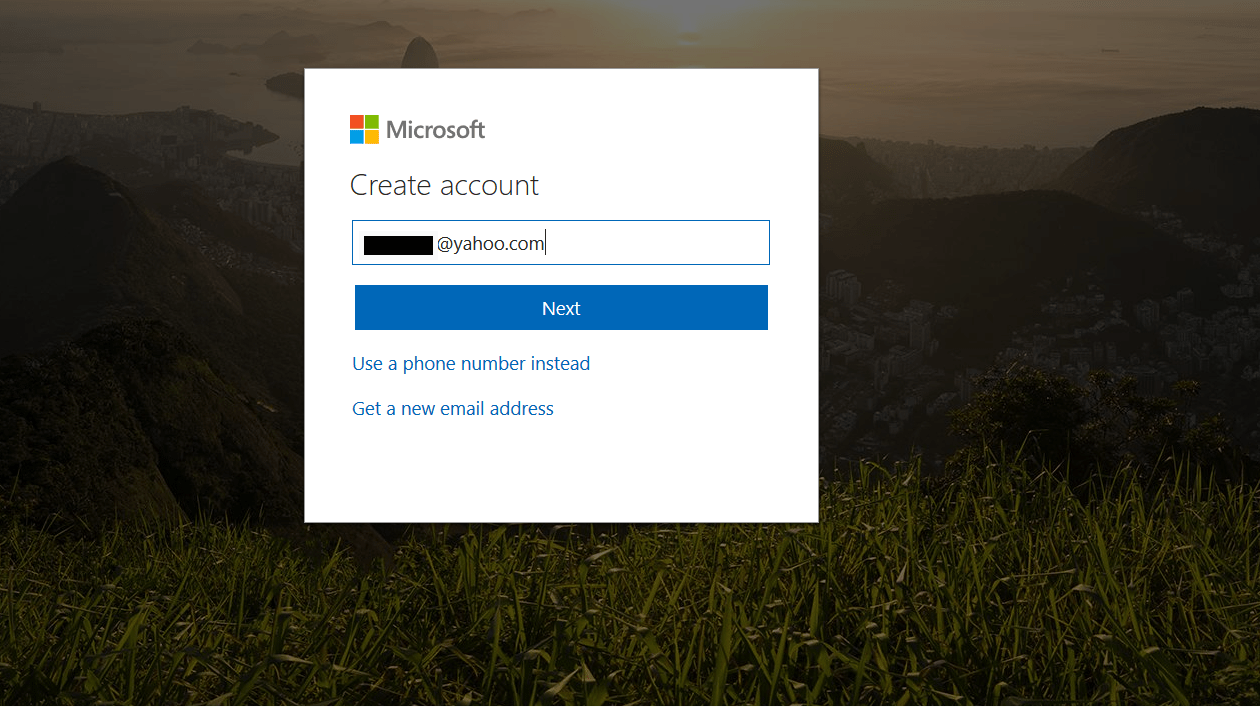
On the following page enter in the email address or phone number that you would like to link your Microsoft Account to and then click Next. There is also the option to get a new email address from Microsoft.
Note
We will be using a preexisting email for this example but if you want to create a new email the process for making a Microsoft email is pretty straight forward.
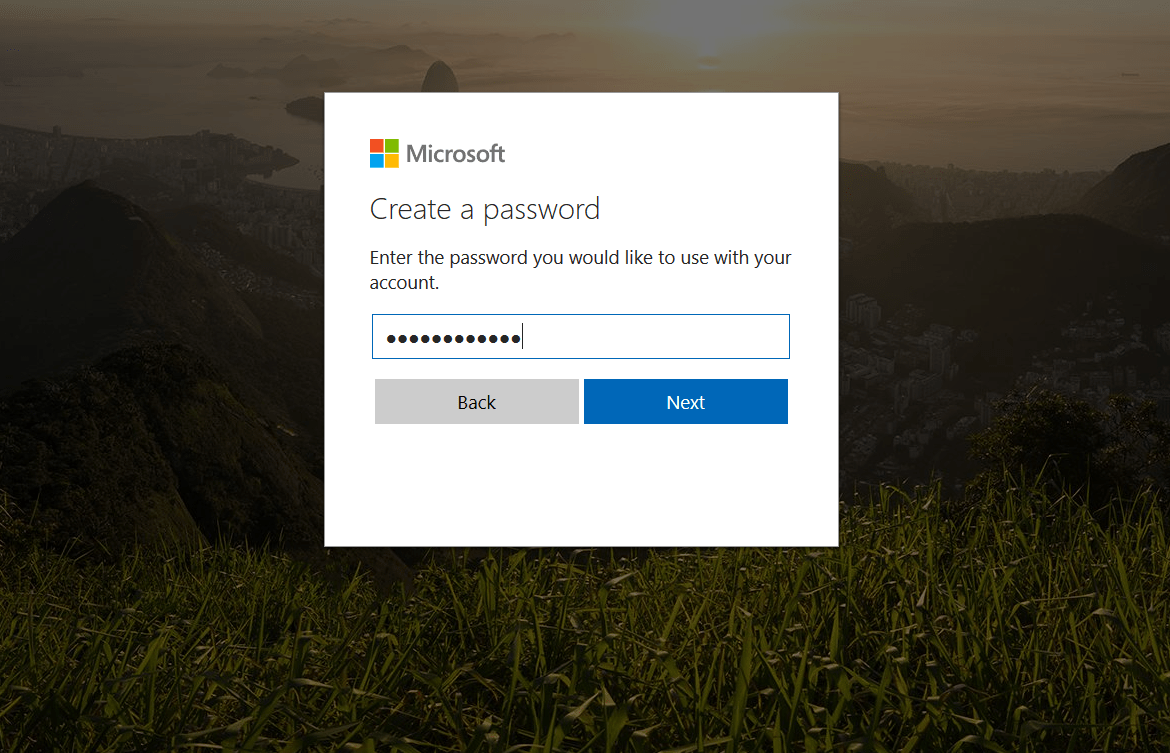
Enter a password that you wish to use with your new Microsoft account and click Next.
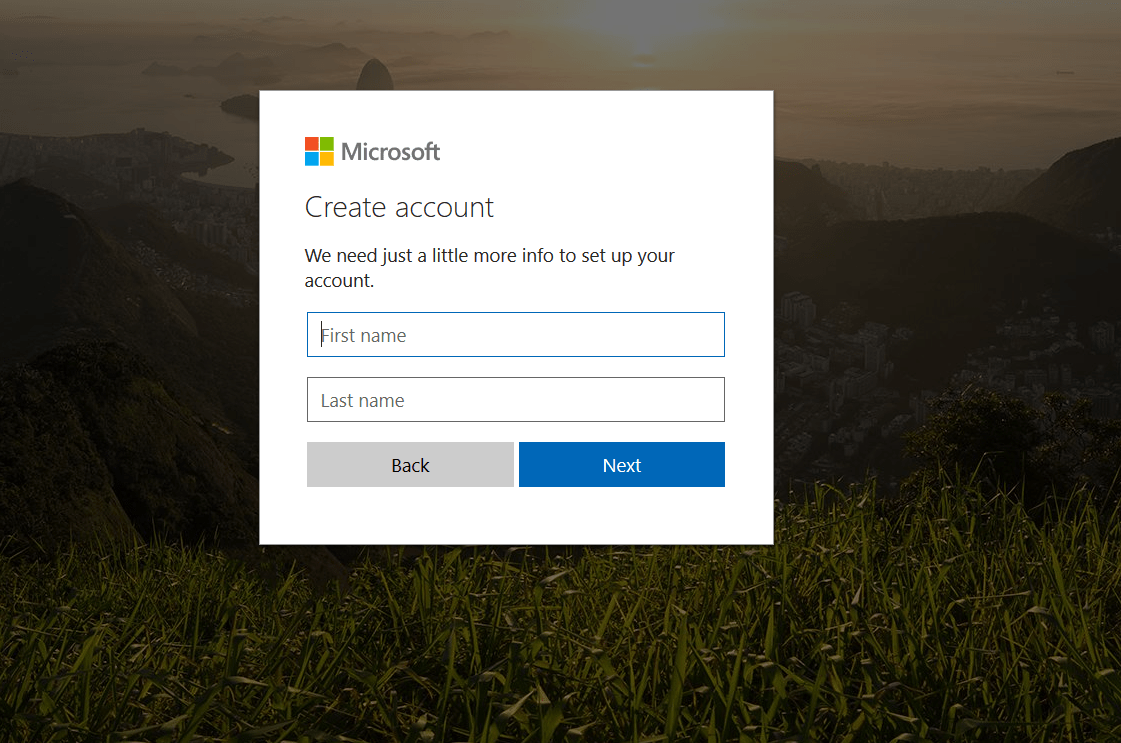
Enter in your first and last name then click Next.
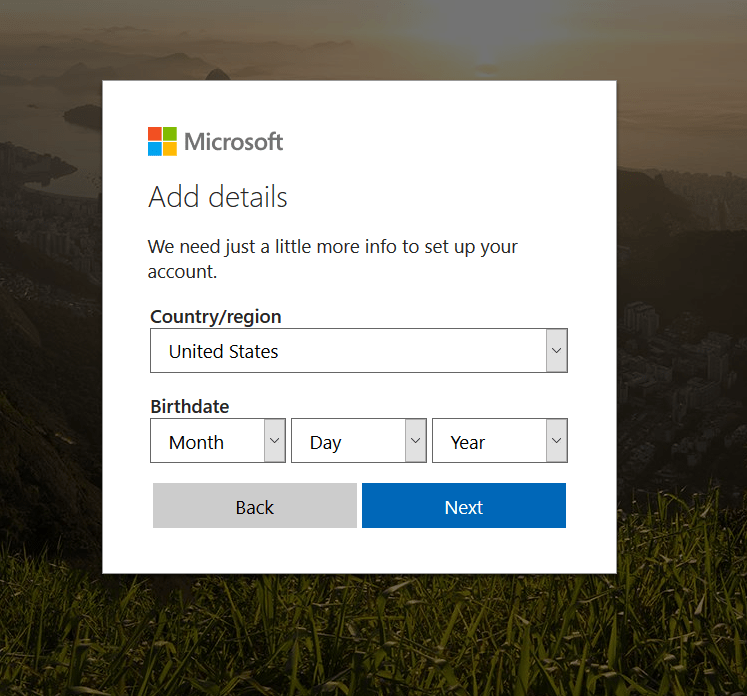
Enter the country/region in which you live and your birthdate.
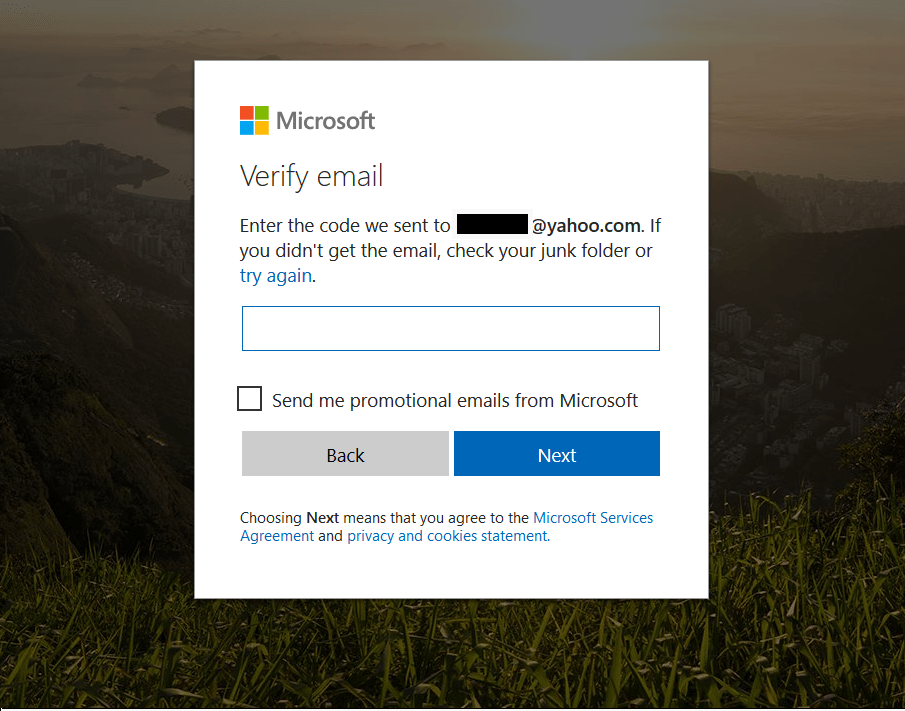
Check the email you used to create the account and find the email from Microsoft. Enter the code from the email into the web form and click Next.
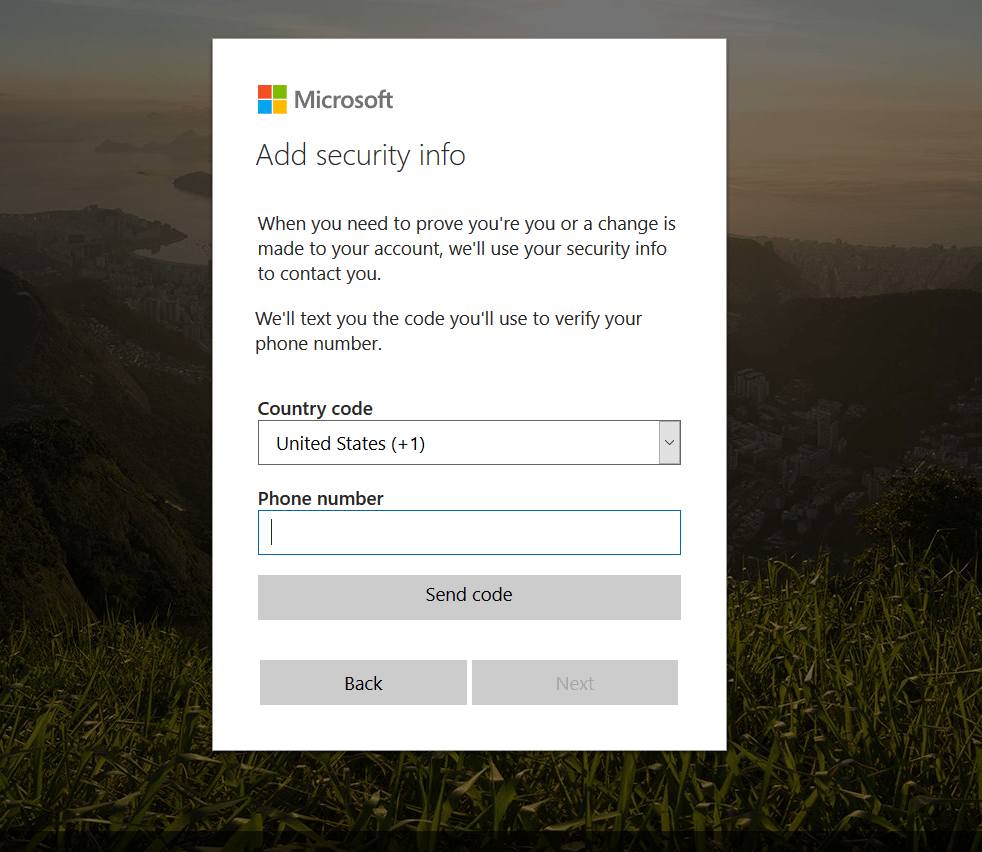
Enter your phone number and then click send code to receive the security code, then click Next.
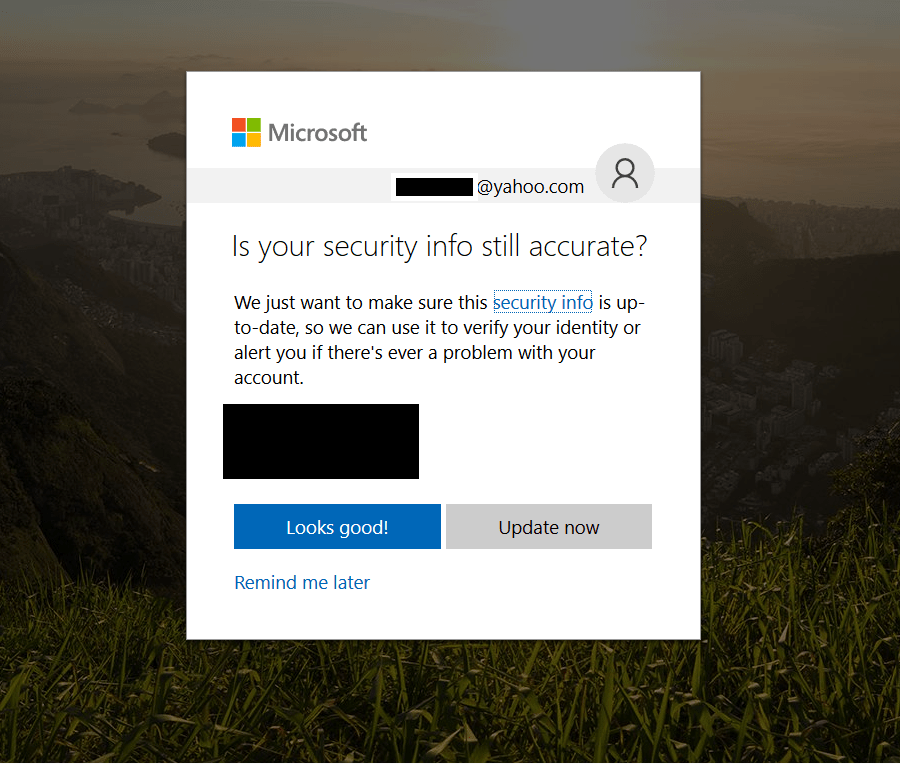
On the following page verify that the information is correct and click Looks good! and your Microsoft Account is ready for use.
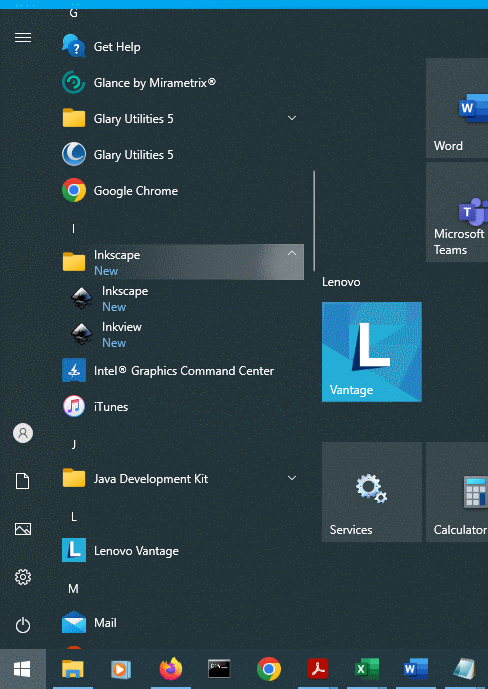
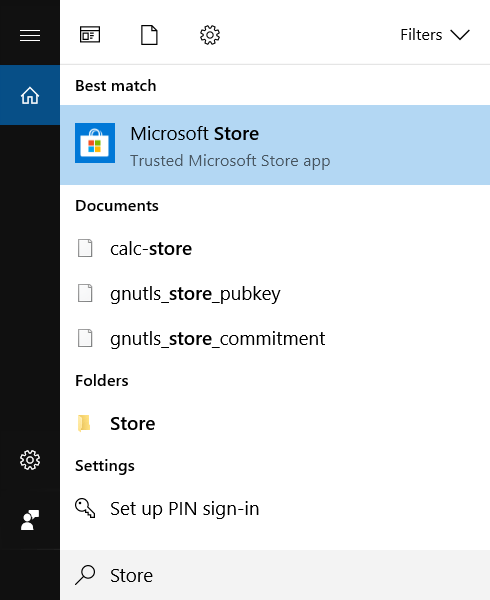
From the task bar at the bottom of your screen click the Microsoft Store icon or enter ‘store’ into the search bar and select ‘Microsoft Store’ from the results.

OR
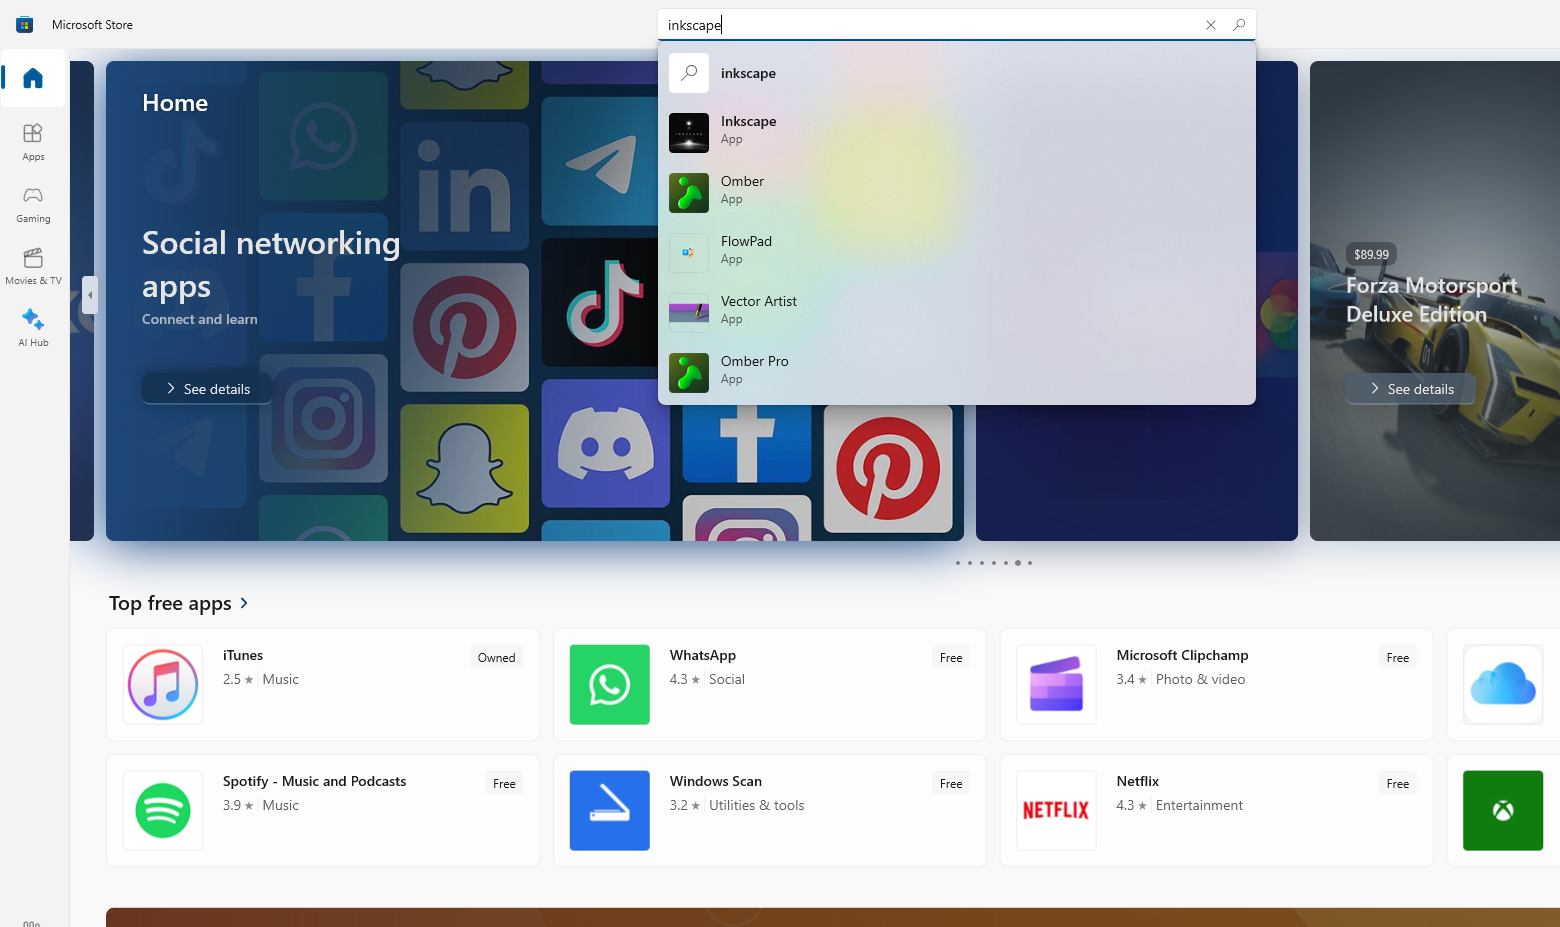
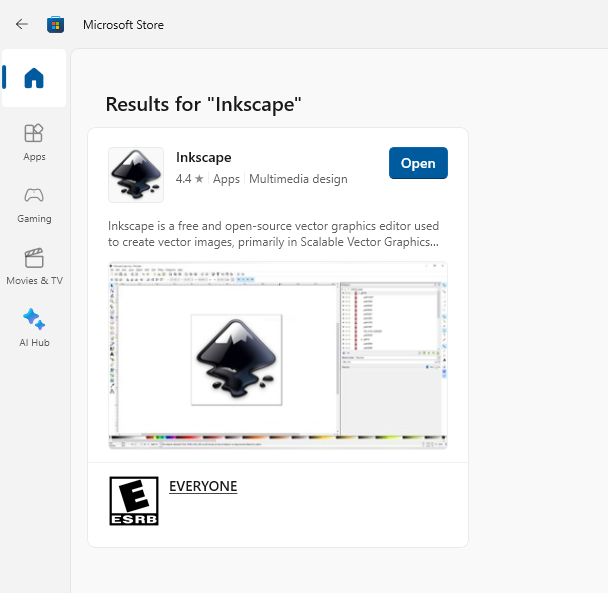
Enter ‘Inkscape’ into the Microsoft Store search bar and select the ‘Inkscape’ App option from the results.
In the following windows, to install Inkscape click Install and then enter your Microsoft account username and then password in the window that pops up.
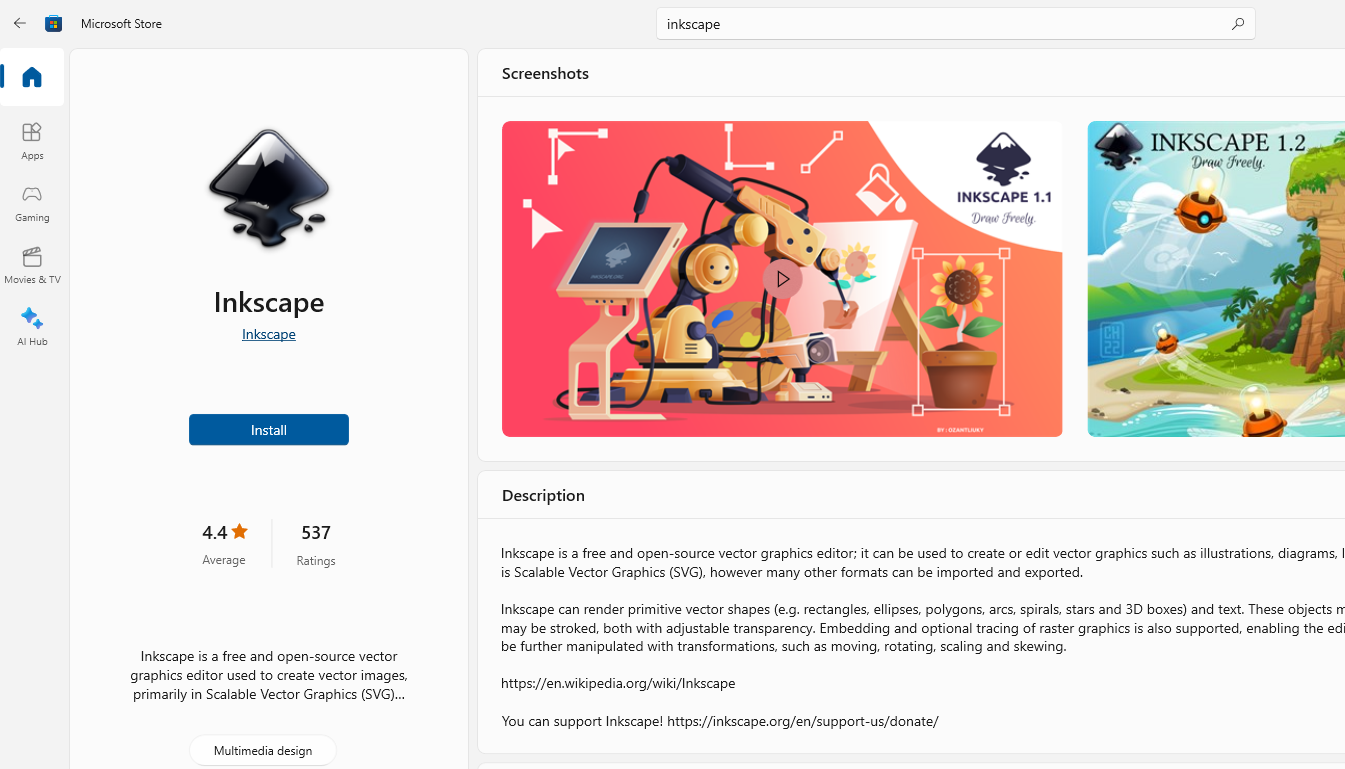
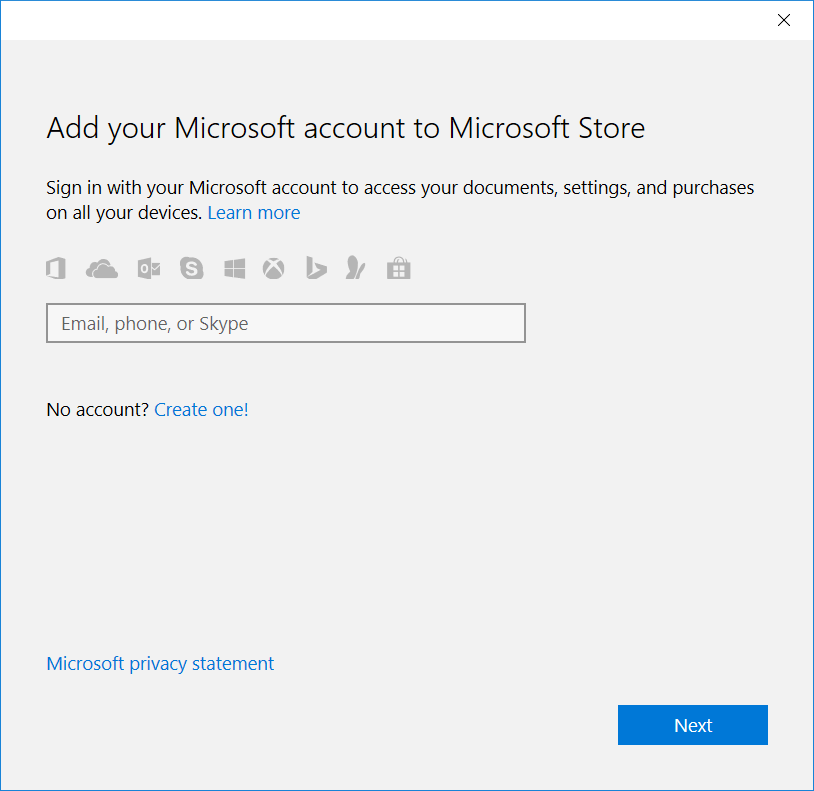
After signing into your Microsoft Account click Install and the installation will begin.
Once the download and installation is complete click Inkscape. A descriptive blurb for the application appears. Hover your mouse over it and click Open to begin working with Inkscape.
Congratulations! You have now installed Inkscape onto your Windows computer.
If you need further help, please visit the FAQ section for Windows specific problems on the Inkscape website.
Identifying Your System Architecture
Before you can begin to download Inkscape, you must first know what type of operating system (OS) you have, 32-bit or 64-bit. If you already know what type of operating system you have please skip this section and go the section on downloading Inkscape.
Method 1: Using Keyboard Shortcuts
Press Win + R to open the Windows Run dialog.
Type “msinfo32” and press Enter.
Toward the middle of the window, you should see an option that says System Type. Write down the associated information.
You will need this to select the correct Inkscape download file for your system.
Method 2: Using the mouse
Click on the magnifying glass or right-click Win and select Search to open a search dialog and type ‘system’.
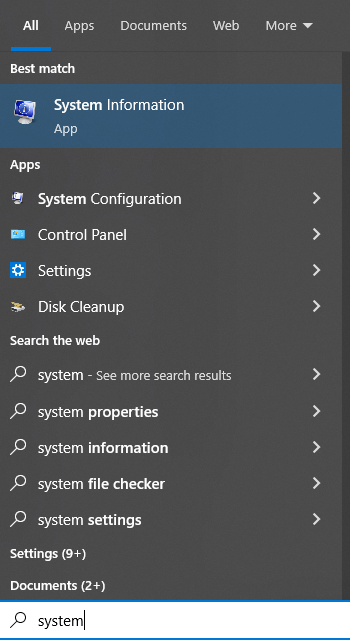
Click to open the System Information window.
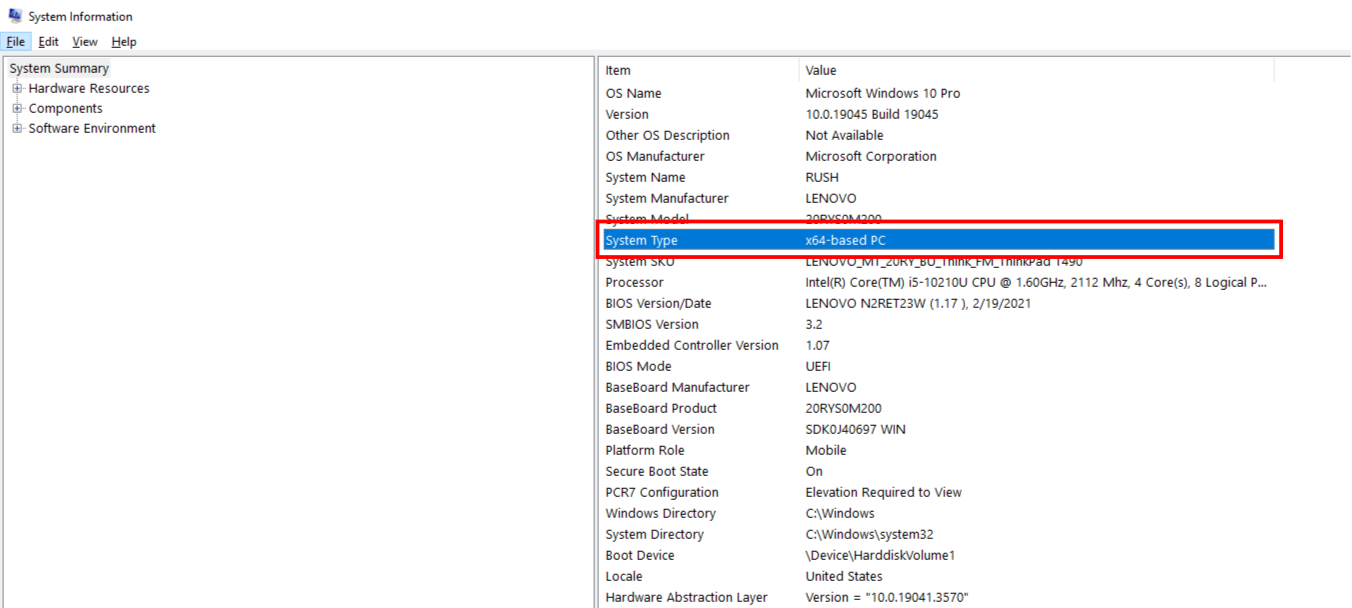
Depending on the version of MS Windows on your computer, you will see a window like the one shown below. Towards the middle of the window, you should see an option that says System Type. Write down the associated information.
You will need this to select the correct Inkscape download file for your system.