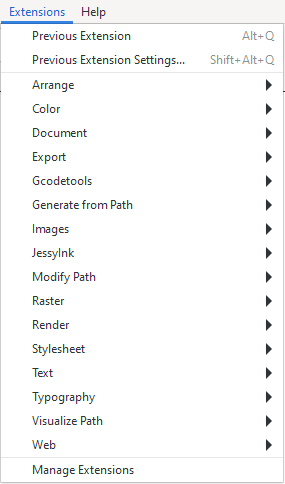
Extensions
In this submenu, you will find functionality that does not target Inkscape’s main objective, but that has still been accepted into the Inkscape program by its developers.
They are grouped into some very distinct categories:
Arrange: Affects the stacking order and grouping of objects.
Color: Affects only the color of the selected objects.
Document: Changes and informs about specific document properties.
Export: Offers exporting functionalities and export preparation.
Gcodetools: For generating GCode and communicating with cutting machines.
Generate from Path and Modify Path: These extension scripts need a path to start with, so they can create something from it.
Images and Raster: Both of these categories affect raster images that are linked or embedded in the SVG file.
JessyInk: For creating animated presentation slides.
Render: Generates new objects on the canvas.
Stylesheet: Associates your SVG with the web design.
Text: Offers additional functionalities for working with text.
Typography: For quickly creating SVG fonts (independently from SVG Font Editor).
Visualize Path: Offers multiple options to visualize different properties of a path.
Web: Allows you to add some simple Javascript or do some layouting for the web.
We will now take a closer look at some of the extensions.
Some Very Useful Extensions in Detail
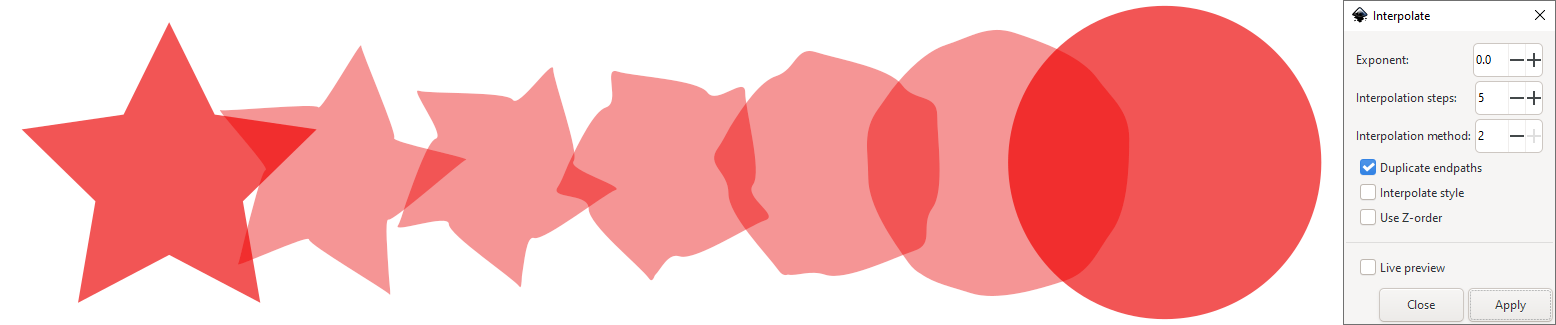
Interpolate
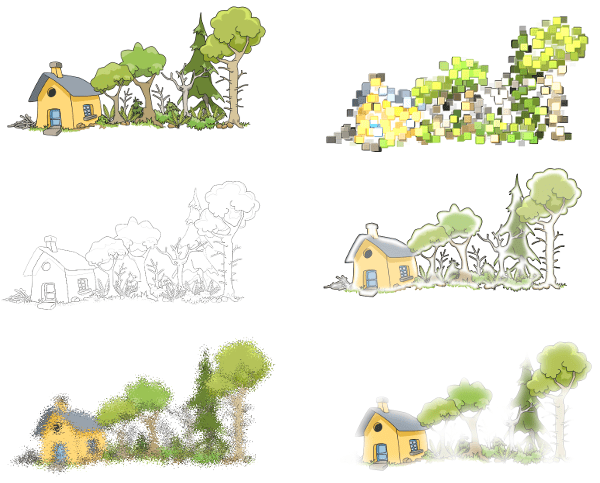
This extension draws the steps that convert one path into another one. Start by creating a first path, and then another one that is the goal of the transformation. Select both paths and open this extension’s dialog with . It will ask you for the number of steps you want to generate. When you hit Apply, the result will appear on the canvas. It consists of a group of as many paths as you have indicated for the Steps value. The paths will all have the same style. You can ungroup them, when you want to edit each path separately and customize their styles.
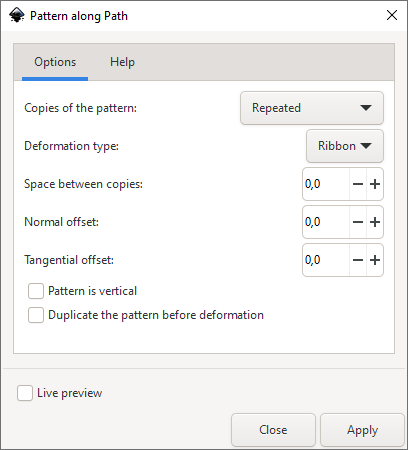
Pattern along Path
This extension chains copies of an object, so they follow the curvature of a path that you have drawn. First draw your path. You can use the Pen/Bézier tool for this. Then create your pattern. The pattern can be a path, even one that consists of multiple subpaths, and even a group.
Make sure that your pattern is on top of the path in the stacking order. Select the two objects, then open the extension dialog with .
The dialog will ask you to decide whether the pattern should be repeated as many times as possible on the path, or if it should be stretched, to start at the path’s start, and end exactly at its end point (and not after that). The deformation type option allows you to select whether to simply chain the objects, or to make them look like they are printed on a ribbon. The other options are about adjusting the objects’ position in relation to each other and to the path.

Color Markers
This extension allows you to edit the color of object’s markers. They can either be adapted to fit the object’s colors (which is the default), or you can select a specific color yourself. You need to select the path with the markers that you want to change, then open the dialog with . When you have selected the options you need, click on Apply.

Inset Shadow
After having selected a path, you can open the extension’s dialog with . As Inkscape is a 2D software, the 3D effect can only be simulated. You can refine the 3D illusion by adjusting the values for the blur, the lighting angle and the width. The preview is very useful for tweaking the result. Hit Apply when you are satisfied with what you see.

Envelope/Perspective
These extensions allow you to automatically deform a path to meet a perspective or to fit into a 4-sided shape, which you indicate by drawing a rectangular shape.
For example, you may have drawn a piece of furniture in a room in perspective, and now you would like to put a design onto its faces. Draw a rectangle in the shape of the furniture’s face.
Then use the extension with or . Now, the path will be deformed to fit the selected frame.
Note that this extension will only work with paths

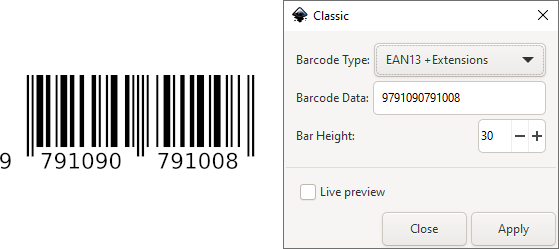
Barcode
This set of extensions that you can find under allows you to create lots and lots of different barcodes, QR codes and even data matrices. You only need to enter your numbers or texts, and Inkscape will do the rest for you.
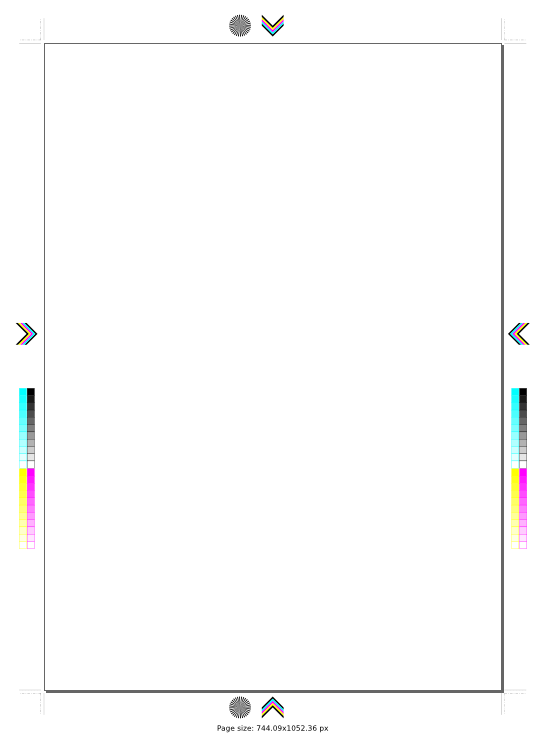
Printing Marks
If you would like to get your design printed and you need the typical printing marks, then this extenstion, which you can find at will be tremendously useful.
You can select the kind of printing marks that you need (crop marks, registration marks etc.), and the extension will do the rest for you.
Text
In this category, we can see the extension labelled Lorem Ipsum, which is a generator for placeholder texts. When you open the extension’s dialog, it asks you to indicate the number of paragraphs and sentences, and the amount of length difference between single paragraphs. ‘Lorem Ipsum’ is a pseudo-Latin text, which can be used to fill the text boxes in your layout with a placeholder text. The generated text will be placed at the top of the page.

Installing Extensions
It is easy to install extensions created by the community, or, for those who know how to write in the Python programming language, to write their own. To learn more about the inner workings of Inkscape extensions, visit the Inkscape website.
Many extensions can be found in the website’s gallery.
Note that these extensions are not curated, and that many extension developers choose to publish their extension on other websites.
Generally, to install a new extension, you need to download and unpack its files. Copy the files into the directory listed at . After a restart of Inkscape, the new extension will be available. Some extensions may come with different installation instructions.
A couple of extensions may depend on other programs, that will need to be installed on your computer for them to work correctly. Usually, the author of the extension will provide instructions for this.