The Fill and Stroke Dialog
 Shift + Ctrl + F
Apart from the options listed under the title of this chapter, this dialog can also be opened by double-clicking on the fields for fill and stroke at the bottom left of the Inkscape window.
The dialog has 3 tabs: one for the Fill, one for the Stroke paint and one for the Stroke style. The first row of buttons in the tabs for fill and stroke paint are for setting the type of fill or stroke paint that you want to use:
 The cross needs
to be active when you do not want to have any fill or stroke paint
respectively.
The cross needs
to be active when you do not want to have any fill or stroke paint
respectively. The first
square must be activated if you want to apply a flat, uniform
color.
The first
square must be activated if you want to apply a flat, uniform
color. The second
square with the gradually changing color must be set when you want
to use a linear gradient.
The second
square with the gradually changing color must be set when you want
to use a linear gradient. The third
square with the brighter color in the middle is for setting a
radial gradient.
The third
square with the brighter color in the middle is for setting a
radial gradient. The next
square with its four quarters is needed for using a mesh gradient.
The next
square with its four quarters is needed for using a mesh gradient. The patterned square when active will allow you to apply
a pattern.
The patterned square when active will allow you to apply
a pattern. The white square is
useful when you want to reuse the fill for other objects in the same
document. It acts like a library.
The white square is
useful when you want to reuse the fill for other objects in the same
document. It acts like a library. The question mark does not set any specific color. The
object inherits the color of its parent.
The question mark does not set any specific color. The
object inherits the color of its parent.
Below, you can customize your color - we will return to that in the next chapter. At the bottom of all 3 tabs, there are two fields that set values for the whole object:
Blur: when you click, or click-and-drag in this field, you can apply a blur to the whole selected object.
Opacity: when you click, or click-and-drag in this field, this will change the global opacity of the selected object - changing the opacity of fill and stroke equally.
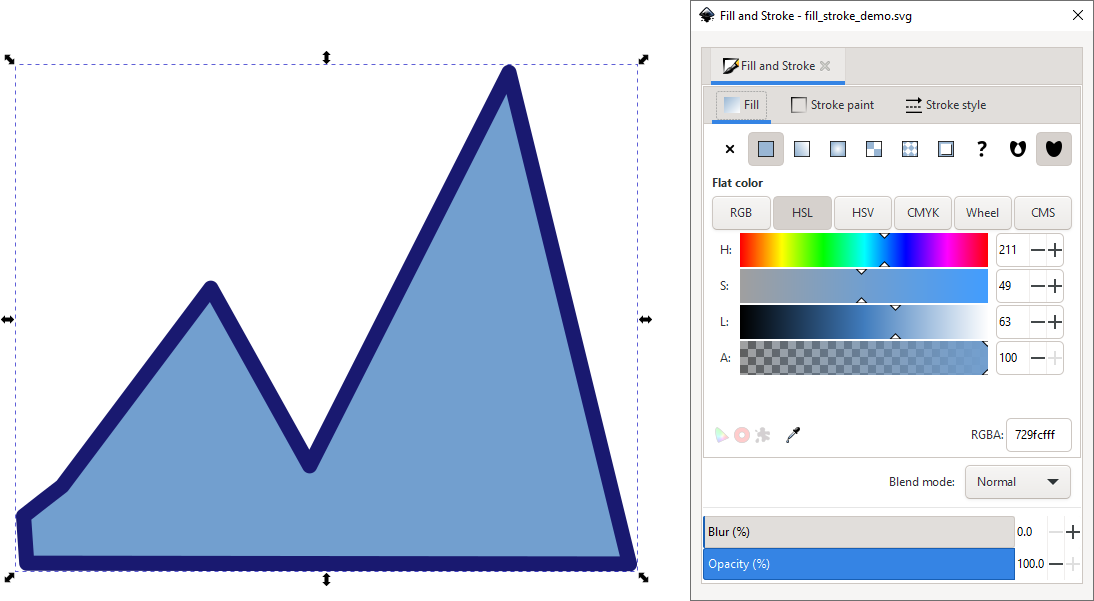
The first tab of the Fill and Stroke dialog, when an object with a plain light blue fill is selected.
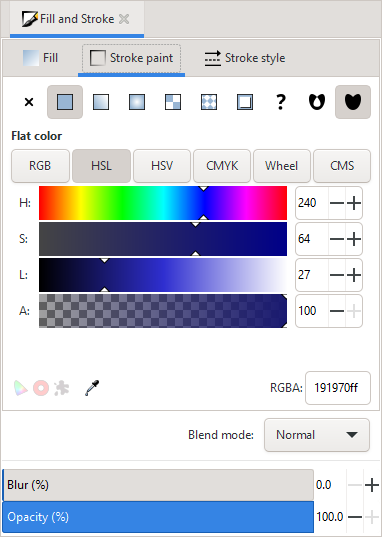
In the second tab of the Fill and Stroke dialog, the stroke is dark blue…
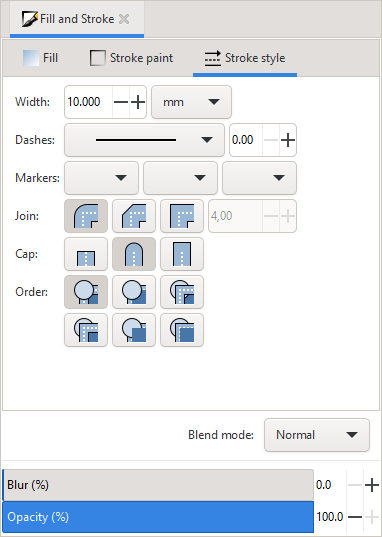
… and 10 mm wide in the third tab.