Exporting a PNG File
Often, it’s useful to export your work into a raster graphics file format, to show off or use it with other programs.
Open the dialog Export PNG Image with Shift + Ctrl + E, or by going to . Now you will have a couple of different options for the export area:
Page: Export only the contents of the page area
Drawing: Export all objects that you have drawn on the canvas
Selection: Export only the area of the selected objects
Custom: Export according to the coordinates that you enter into the fields at the top
Under the heading Image Size, indicate the size of your image in pixels, or the desired resolution. The other values will adapt automatically. Now select a name for the exported file and click on Export.
Beginners are sometimes surprised that their exported image has a transparent background. To change this, open (Shift + Ctrl + D), then for a white background, set the alpha channel of the background color to 255 after a click on the Background Color field. Other colors can be selected for the export background accordingly.
Inkscape exports your drawing without a margin. This can lead to the impression that the image is cut off, while it is not. If this bothers you, you can add margins by using the collapsible field Resize Page to Content in the first tab of the Document Properties dialog. Note that this changes the page size.
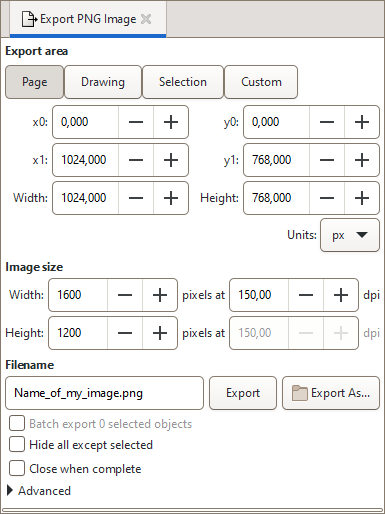
PNG image export dialog
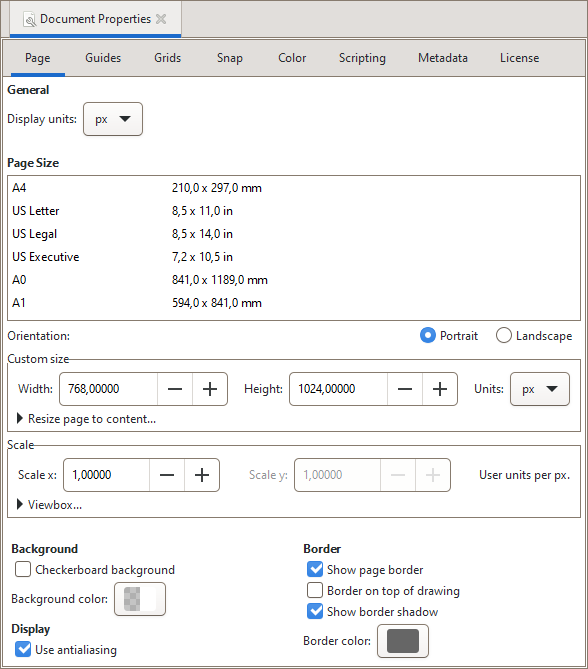
Changing the settings in Resize Page to Content