Custom Colors
 Shift + Ctrl + F
When the palette does not contain the color you would like to use, you can select a color in the Fill and Stroke dialog. We will now take a closer look at that dialog.
At the top of the dialog, there are 3 different tabs: for the Fill, the Stroke paint, and the Stroke style.
In both the Fill and the Stroke paint tabs, you will find 6 different color selection modes: RGB (Red, Green, Blue), HSL (Hue, Saturation, Lightness), HSV (Hue, Saturation, Value), CMYK (Cyan, Magenta, Yellow, Key/Black), Wheel (Color wheel) and CMS (Color Management System).
This book will not go into the details of the differences between these modes, but there are different use cases for them. Many people find the HSL color selector the easiest to use. The CMS color selector is reserved for advanced uses, and only makes sense in combination with the open source desktop publishing software Scribus .
For choosing a color for your first drawings, you can select any of the first five options.

A light blue color in RGB color space, which is mostly used in monitors.
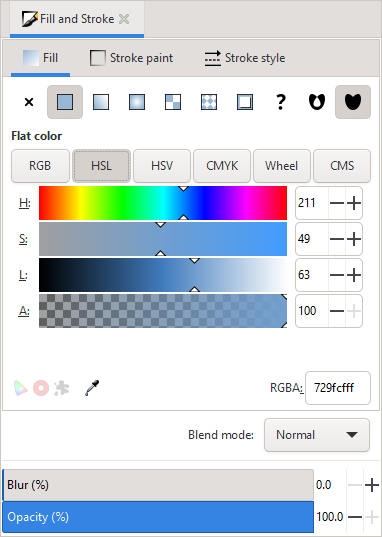
The HSL color space is modelled after the way humans perceive colors.
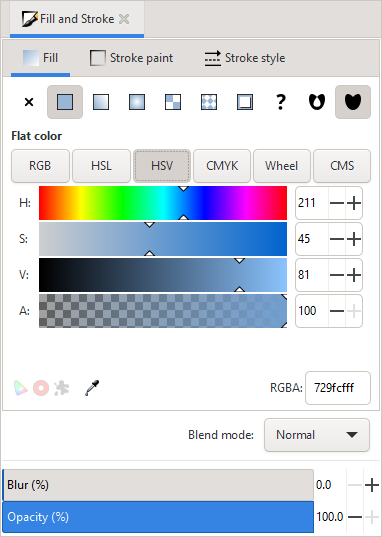
As with HSL, the HSV model is used for human perception of colors. It shows how colors are perceived under light.
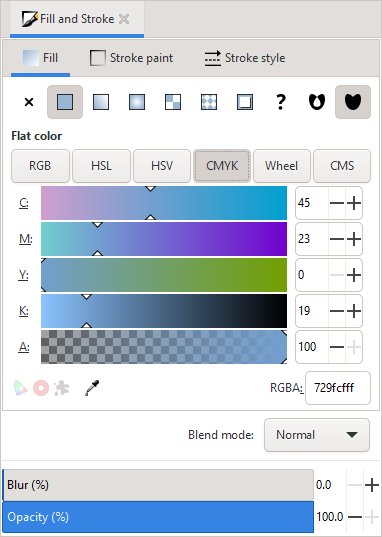
The same light blue color in CMYK color space, which is commonly used in printers.
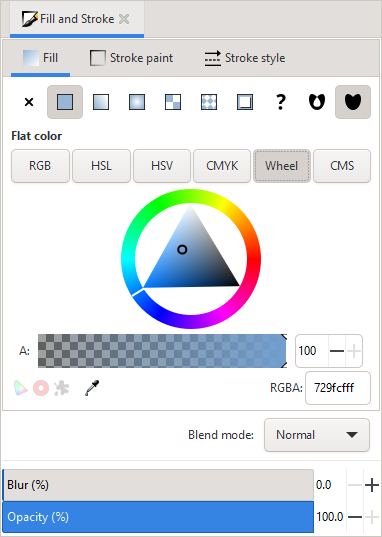
The color wheel offers an alternative way to select HSV values.
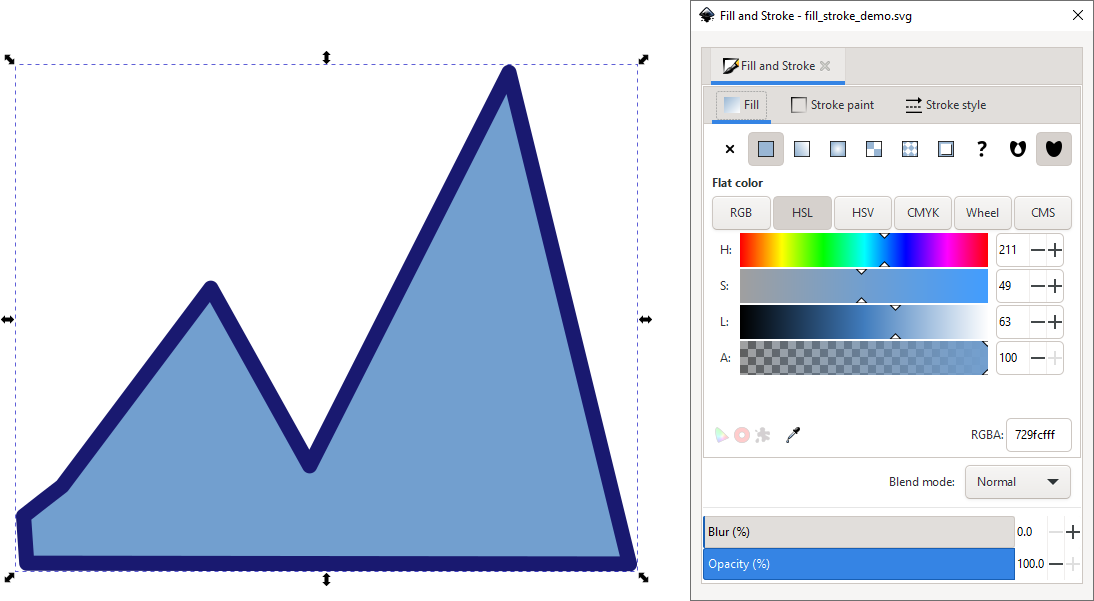
Our mountains are light blue at the beginning.
To select your color, click or click-and-drag with the mouse in the different sliders (or the wheel). Always remember to first select your object! The result will immediately be displayed on the canvas. When you’re happy with it, don’t touch anything in the dialog!
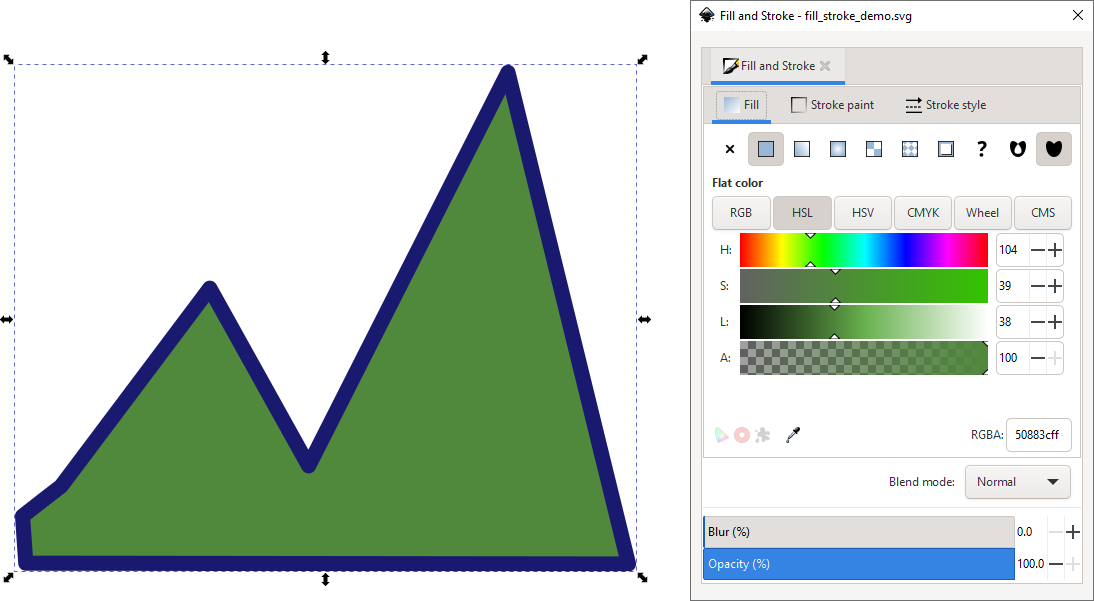
But we prefer them green.
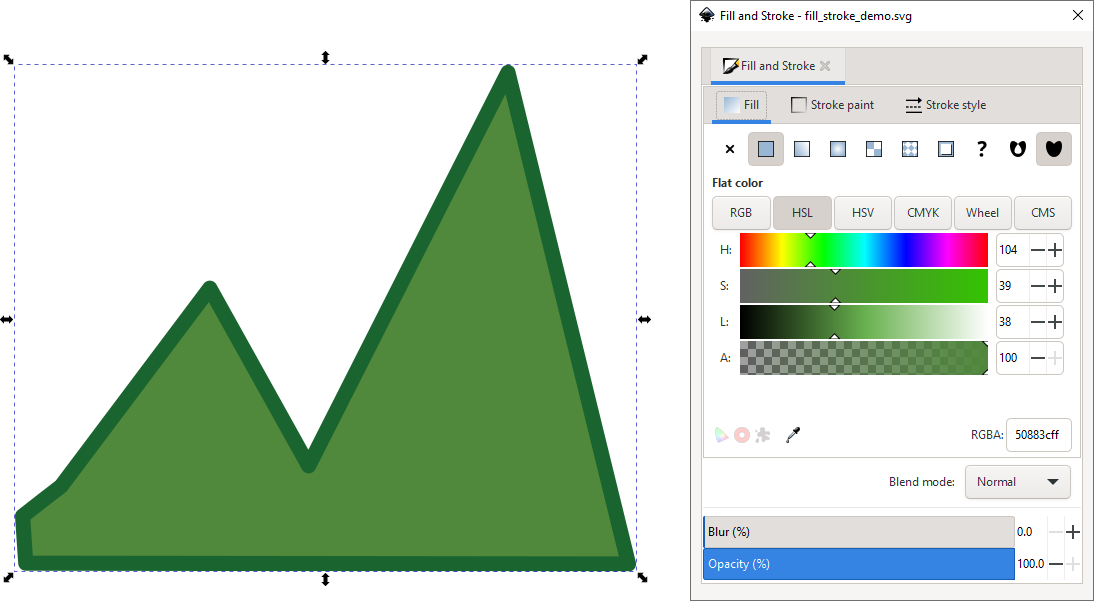
And we choose a green stroke.
Every color chooser also has a field labelled A at the bottom. ‘A’ stands for ‘Alpha’, which is the opacity value of the selected color. The higher the value for alpha, the more opaque your color will be.
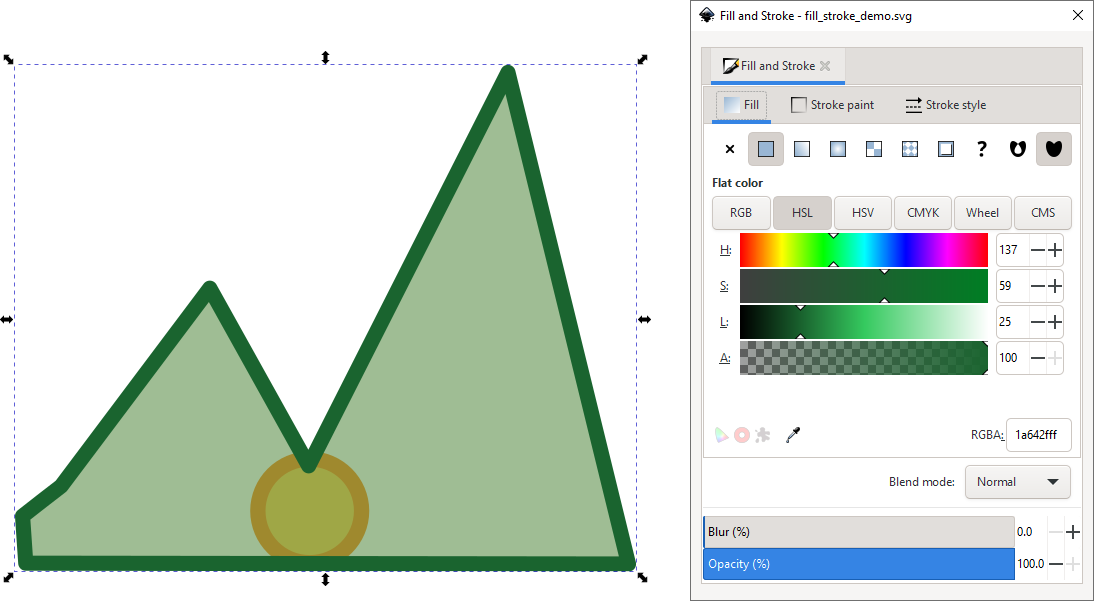
If we lower the alpha value for the fill, we can see that the sun is about to rise behind our green mountains. Note that the stroke is still completely opaque.
In case you were wondering about that little field labelled RGBA in the bottom right corner of the dialog: it is the name of the color in hexadecimal code, as it is used in a web page’s CSS. The last two letters appended to the code determine the opacity or ‘alpha value’ (just like the slider labeled A).