The Color Palette
At the bottom of the Inkscape window, you can find the color palette.
The quickest way to apply a color to an object is to:
Select the object with the Selector tool.
Left-click on the color of your choice in the palette.
The color will be immediately applied to your object.
You can also click-and-drag the color on your object to use that color for your object.
Each vector object can have a stroke color and a fill color. To apply a color to the stroke:
Select the object with the Selector tool.
Hold down Shift and left-click on the color field of your choice.
The color will immediately be applied to the object’s stroke.
If you do not like the colors offered by the current palette, you can use one of the other palettes Inkscape supplies. To switch the palette:
Click on the tiny triangle to the right of the palette, near the margin of the Inkscape window.
Click on the name of another palette.
You will also notice that there are options for changing the palette’s appearance at the top of the palette menu, which allow you to make the palette more or less tightly arranged.
Tip
Custom palettes
It’s also possible to create your own color palette. To do so, create an Inkscape file which contains only the colors that you want to be included in your new palette, for example, by drawing a series of rectangles and giving each one a different fill.
Next, check where Inkscape looks for custom palette files. For this, go to , and make a note of the path indicated under User palettes.
Now, go to and select the file extension
GIMP palette (*.gpl). Save this file in the location you have
looked up in the previous step. If the subfolder palettes
does not exist yet, you need to create it.
Lastly, you can make a backup of this file for later adjustments, by saving it normally, as Inkscape SVG, to a folder of your choice.
If you like, you can now adjust the name of your new palette and the order and names of its colors, by editing the file with a text editor:
The customizable name of the palette is in the second line of the file,
after the keyword Name:.
This line is followed by a list of your colors, each in a separate line,
containing 3 columns with their RGB values,
and the customizable color names in the fourth column.
By default, colors are ordered by their RGB values, but you can swap the
color lines around to customize their order.
Restart Inkscape to see the new palette in the list.
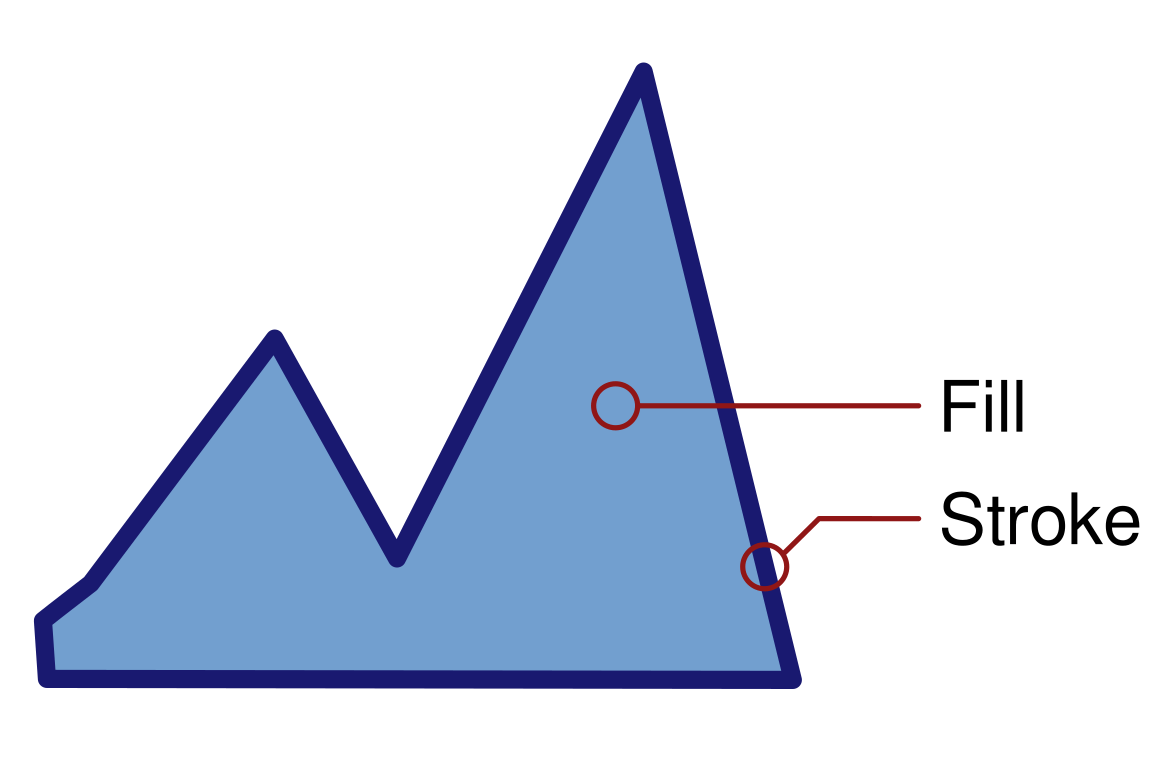
An object with a light blue fill and a dark blue stroke
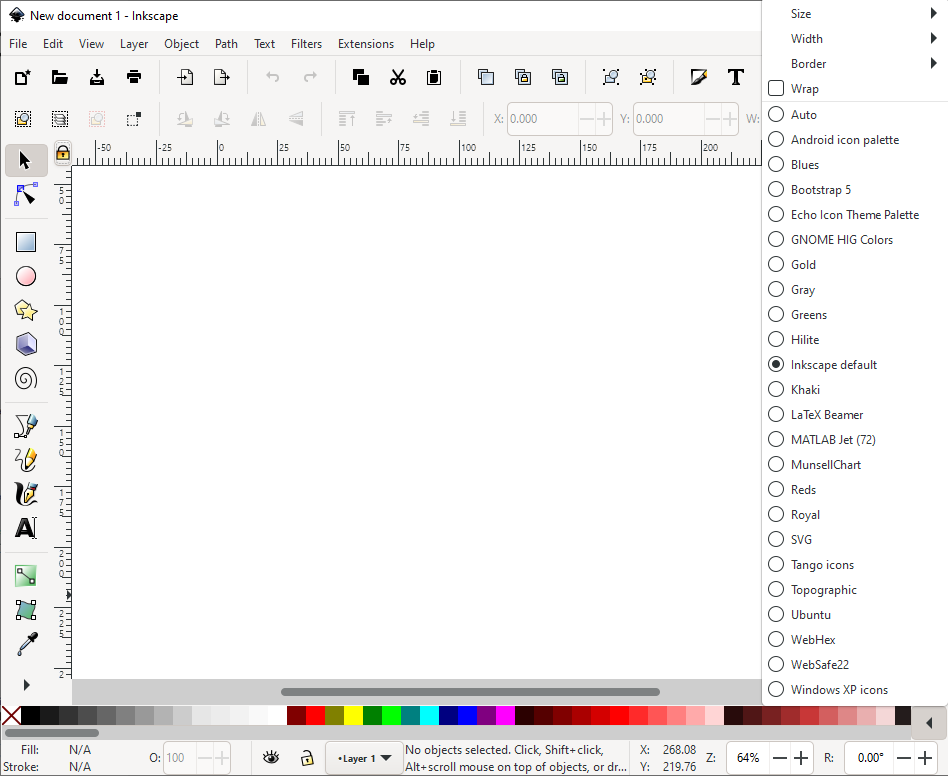
The colorful palette is located at the bottom of the window. The palette options menu is unfolded.
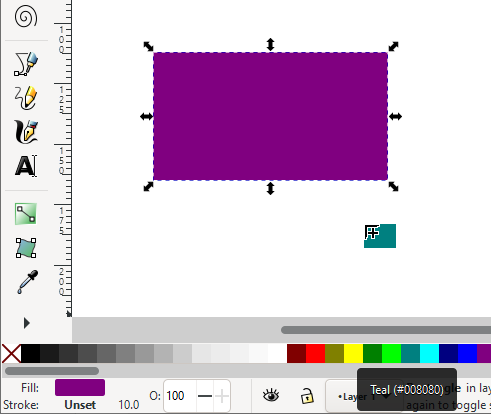
The fill color can be dragged from the palette onto the object.