Node Tool Options
 F2 or N
The Node tool offers a number of options we haven’t seen yet. In this chapter we will go through them, by looking at the different icons in its tool controls bar:
 Insert new node
A double-click on a path segment lets you add new nodes easily directly on the canvas. If you need to add more nodes, or want to insert a node right in the middle between two other nodes, you can click on the path segment or select multiple nodes, then use this button. More nodes allow you to more precisely determine the shape of a path.
 Delete selected nodes
Select the node(s) and then either use the Del key, or use this button. You should aim for having as few nodes as possible, so you can make changes to the objects in your drawing more quickly.
 Join (merge) nodes
Select at least two nodes. When you click on the button, the nodes will be merged into a single node. Inkscape will try to preserve the path’s shape as well as possible.
 Break path
This will split one node into two nodes. These two new nodes are not connected by a path segment. The new nodes only have a single handle, as they are end nodes, and they are placed directly on top of each other. This can sometimes be difficult to handle. Only use this feature when you really need it!
 Join end nodes with a new segment
This is ideal for manually joining separate path pieces. If you select all nodes in a path that has many interruptions, this will always join the two nodes that are closest to each other.
 Delete segment between two non-end nodes
Breaks a path in two, leaving a gap.
The next couple of icons can be used to convert one thing into a different one:


 Convert different node types into each other
 Convert objects to paths
We learn about this in the chapter about how to edit the nodes on a geometrical shape
 Convert stroke to path
Convert strokes of objects into separate objects
Then, there are number fields for changing the x and y coordinate of the selected node, and a drop-down menu that allows you to change the unit for the coordinates.
These buttons determine if certain path properties will be editable and visible on the canvas:


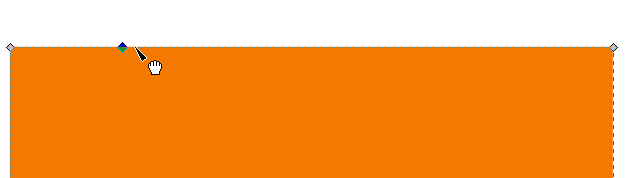
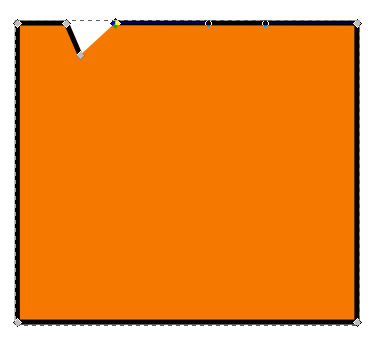
An object where a node has been added by double-clicking on the path.
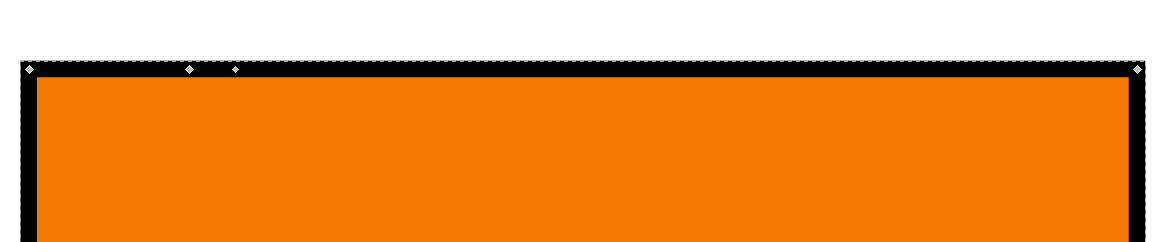
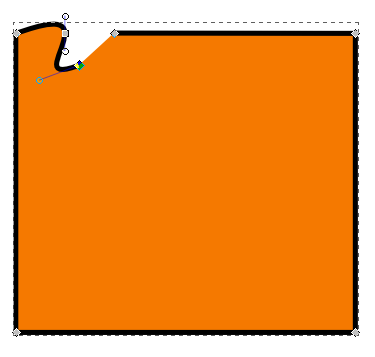
A stroke was added, and another node. This node was broken into two. This one looks a lot smaller. Make sure you really want this before clicking the button!
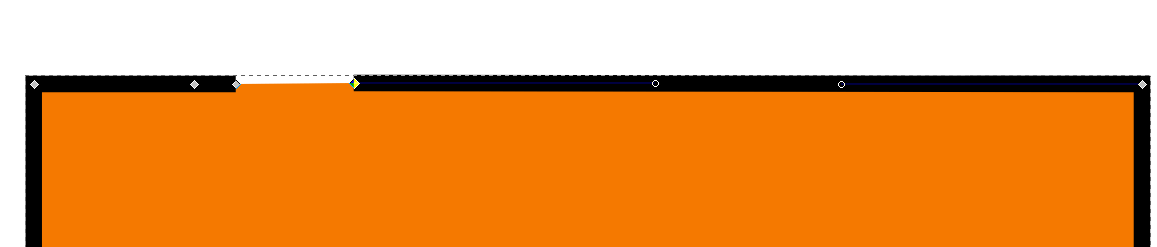
The segment between two nodes has been deleted.
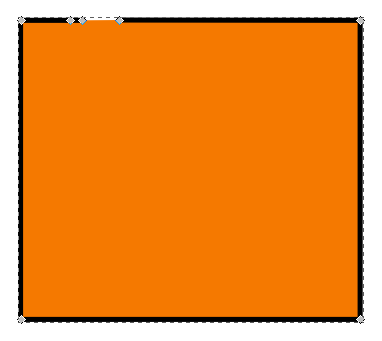
Example of editing a path by …
… moving a node, then …
… changing a node’s type and modifying the handles.