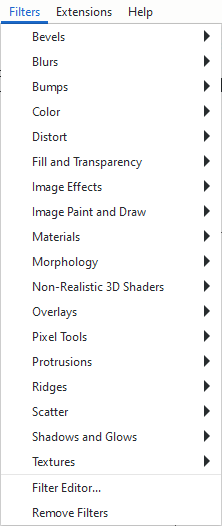
Filters
One of the menu entries is dedicated to filters. More precisely, all of these are combinations of SVG filters. The possibilities of combination are infinite, and the Inkscape developers put some combination suggestions into the menu and tried to find a descriptive name for each.
To apply a filter, you need to first select one or more objects, then select the filter you want to use.
If you want to play with different values, check the little box labelled Live Preview, then the result will be shown on the canvas. It will only be applied to the object when you click Apply.
Filter Gallery
As an alternative to the Filters menu, you can browse and search all premade filters with previews in the Filter Gallery. You can open it by going to .
Here is a list of some interesting filters:
: Turns objects into an interesting explosion.
: Converts the selected objects to a sketch.
: These filters replicate the effect of spray painting.
: Offers several blur variations.
: Offers filters that have to do with the objects’ contours.
It’s up to you to explore this further. The result of most filters depends heavily on the selected objects.
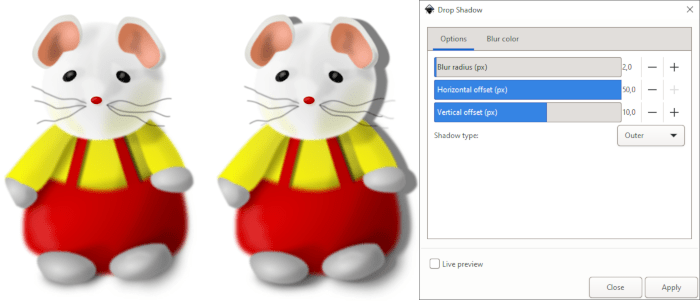
The Drop Shadow Filter
This filter adds a shadow under to the selected object. To add the filter:
Select one or more objects.
Add the filter from .
Click on the checkbox Live Preview.
Adjust the filter’s dialog options (described below).
Click Apply when you are happy with your result.
The dialog allows you to define the amount of blur, the shadow offset, its type and color. The larger the blur radius, the more distant the object seems to be from its shadow. The farther away the values for the x and y offset are from 0, the more it looks as if the light comes from the side.
The dropdown for the shadow type allows you to choose between:
Outer: normal shadow
Inner: the object looks like it were a hole
Outer Cutout: just the outer shadow, the object will be invisible
Inner Cutout: just the inner shadow, without the object
Shadow Only: the full shadow, without the object
In the Blur color tab, you can change the shadow’s color and opacity (the intensity of the shadow).
Editing Filters
Inkscape offers a dialog for editing filters, which can be opened from the entry Filter Editor at the bottom of the Filters menu.
When the dialog opens, and there is no filter applied to the currently selected objects, it will be empty. When there is an object with a filter selected, you will see the components of the object’s current filter.
The basic principle of the dialog is simple, but understanding all its ramifications is highly complex. One needs to have a deep knowledge in SVG filters and matrix mathematics to be able to understand how to use the parameters of every available filter to achieve a specific result.
Because of this, the easier option may be to just play with the filter settings randomly, starting from one of the stock filters that is similar to the desired result.