Tracing an Image
 Shift + Alt + B,
You can use this feature to turn a raster image to paths that you can use and edit in your design. This process is called ‘Tracing’ or ‘Vectorization’. If you expect a 100% faithful representation of your picture, though, only in vector format, you will be disappointed.
The functionality is ideal to vectorize dark silhouettes in front of a bright background. There is an option for keeping colors, but Inkscape will then create one object for each color. You’ll find yourself facing a pile of objects, each of a different color. This can be difficult to edit, especially for a beginner.
To vectorize a picture:
Import a suitable bitmap image by using the menu .
Select the image with the Selector tool.
In the menu, go to .
A dialog will open where you can set different options.
Use the Update button to get a new preview image whenever you change the settings. When the result of the preview looks right, click Ok. The vectorized image will be available right on the canvas. It will be positioned exactly above your picture.
Tip
Sometimes, the vectorized version will be so similar to the original bitmap image, that you do not notice a difference. Use the Selector tool to move it to a different place on the canvas, so you can examine it properly.
Let’s take a closer look at the options for this wonderful tool. The first tab offers several different choices in the Single scan tab:
- Brightness cutoff
This is the most frequently used mode. It will create a silhouette-like path that follows the shape of your image.
- Edge detection
Useful if you only want to vectorize the contours of a shape.
- Color quantization
This traces along borders between different colors.
- Autotrace
Like Brightness cutoff, this will also trace the outlines of objects in your image. You can ignore it for now.
- Centerline tracing (autotrace)
This mode will reduce a shape to an open path. It is best used with handwritten text and other line drawings.

The results of tracing the letter on the left with Brightness cutoff (center) and Centerline tracing (right).
Don’t forget to refresh the preview on the right of the dialog, and to click on Apply to create the vector object.

rocket.png, the image that we want to trace in this example.
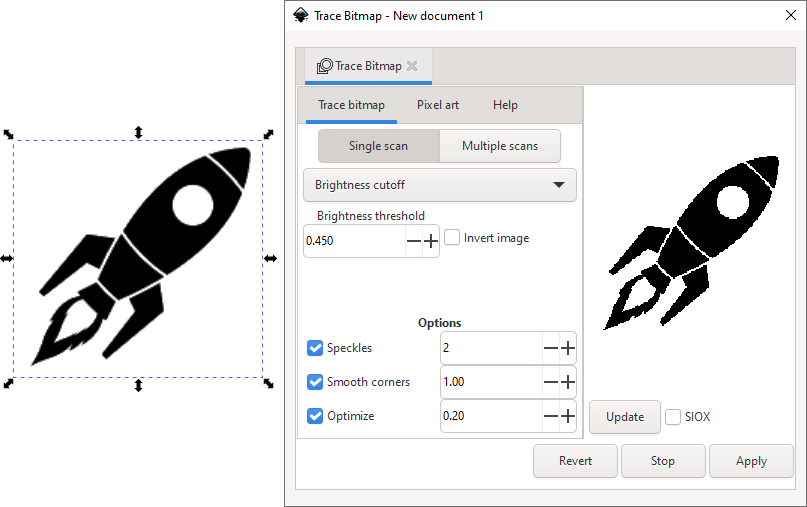
The image rocket.png has been imported and the Trace Bitmap dialog was opened.
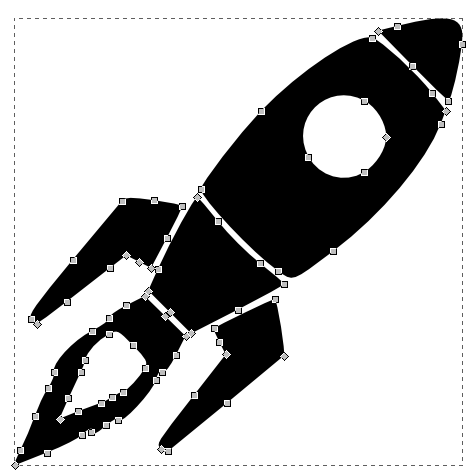
The rocket traced with the Brightness cutoff option.
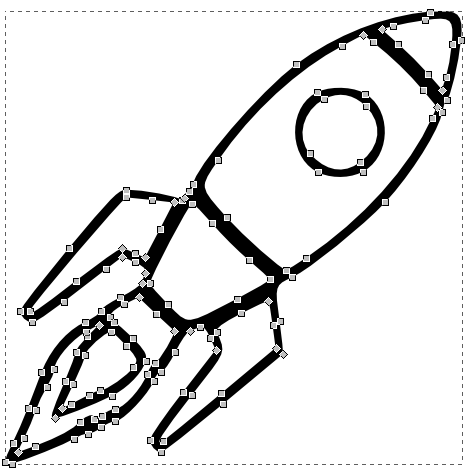
The rocket vectorized with the Edge detection option.
The mode Multiple scans will give you a more detailed result, but it will create a separate object for each scan.

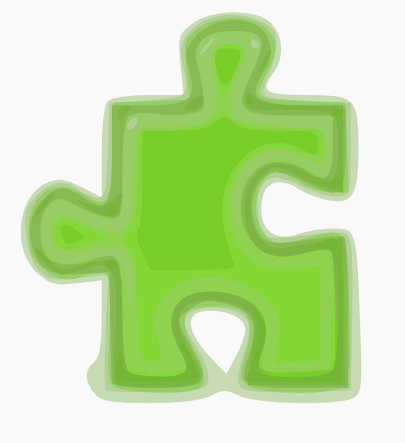
A bitmap image in color.
Multiple scans: Colors option with 10 scans. There are 10 stacked objects in the result.
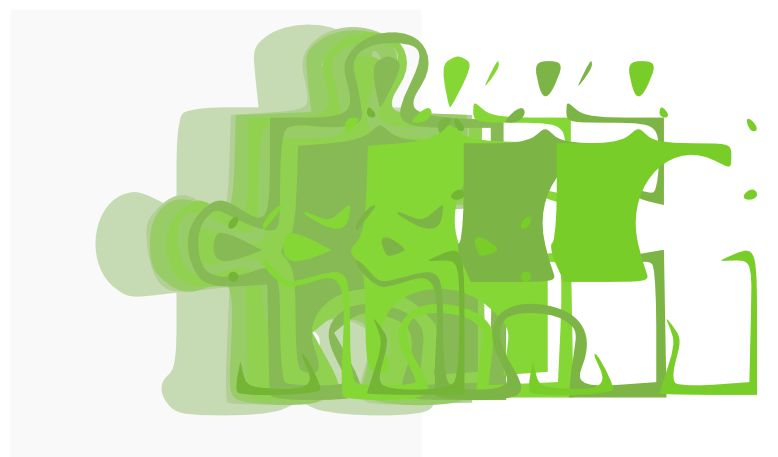
After ungrouping, the 10 objects can be moved.